
Successful portrait photography relies on more than just technical skill; it demands meticulous preparation and a systematic approach. A comprehensive portrait photography checklist ensures consistency, minimizes errors, and ultimately enhances client satisfaction. This isn't merely a list of items to pack, but a strategic framework for managing the entire photographic process, from initial client contact to final image delivery. Implementing a well-defined checklist allows photographers to focus on creativity during the shoot, knowing that all essential logistical and technical bases are covered.
Pre-Shoot Preparation: Building a Solid Foundation
The success of any portrait session begins long before the camera even leaves its bag. Thorough preparation establishes clear expectations, identifies potential challenges, and ensures you have the necessary tools and information.
Client Consultation and Vision Alignment
This initial phase is critical for understanding the client's needs and translating them into a photographic vision. Begin by discussing the purpose of the portraits – whether for professional headshots, family memories, or personal branding. Clarify desired moods, styles (e.g., formal, candid, editorial), and preferred aesthetics (e.g., light and airy, dramatic). Confirm the intended usage of the images, as this impacts resolution, licensing, and post-processing decisions. Guide clients on wardrobe choices, suggesting colors and styles that complement the chosen location and desired mood, while advising against distracting patterns or logos. For location shoots, discuss potential sites, considering available light, background elements, and logistical access. This collaborative approach ensures both parties are aligned and avoids misunderstandings later.
Gear Check and Packing
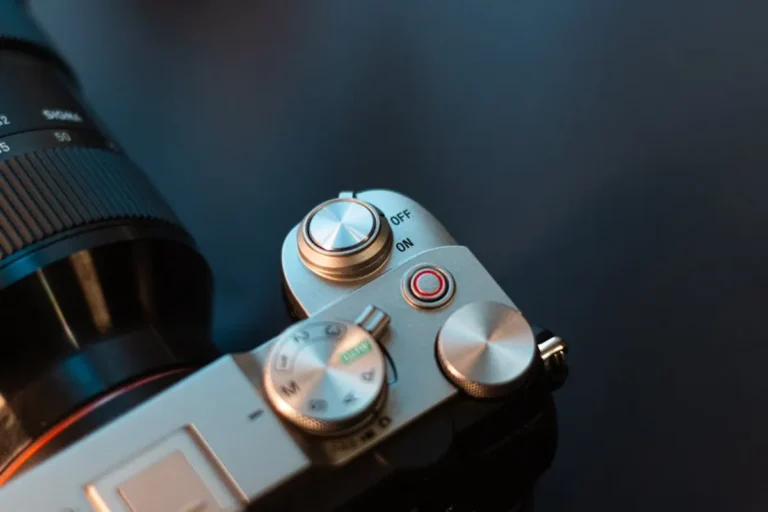
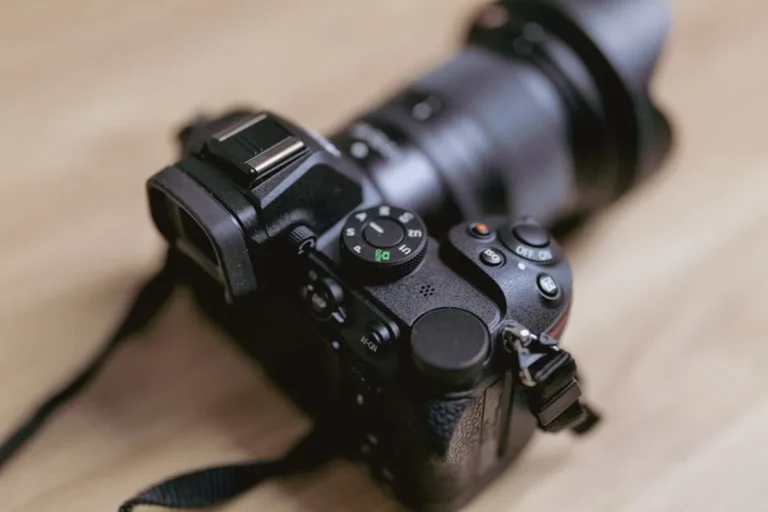
A systematic gear check prevents last-minute panics and ensures all equipment is functional and ready. This list moves beyond just "camera" to specific components:
- Camera Bodies: Pack at least two, fully charged and with clean sensors.
- Lenses: Select based on desired focal lengths and aperture requirements (e.g., 50mm f/1.4 for shallow depth of field, 70-200mm f/2.8 for versatility, 85mm f/1.8 for classic portraits).
- Batteries: Ensure all camera, flash, and trigger batteries are fully charged, with multiple spares.
- Memory Cards: Format all cards before the shoot and bring several high-capacity spares.
- Lighting Equipment: Depending on the shoot, this could include strobes, continuous lights, speedlights, triggers, light stands, and modifiers (softboxes, umbrellas, reflectors, grids).
- Light Meter: Essential for precise exposure control, especially with artificial lighting.
- Tripod: For stability, especially in low light or for self-portraits.
- Backdrops and Props: If using, ensure they are clean, wrinkle-free, and packed securely.
- Cleaning Supplies: Lens cloths, sensor cleaning kit, blower brush for dust.
- Miscellaneous: Gaffer tape, multi-tool, small first-aid kit, water, snacks.
Location and Logistics
Confirming all logistical details beforehand prevents delays and ensures a smooth operation. This includes verifying access times for chosen locations, securing any necessary permits, and understanding parking availability. Map out travel routes and account for potential traffic. If working with assistants, clearly define their roles and responsibilities. Establish a clear timeline for the session, including setup, shooting blocks, and breakdown, communicating this to the client.
During the Shoot: Execution and Engagement
With preparation complete, the focus shifts to executing the vision while maintaining technical precision and client comfort.
Scene Setup and Lighting
Before the subject steps into frame, set up the scene. Position the background to avoid distractions and ensure it complements the subject. Strategically place lighting to achieve the desired mood and dimension. Consider a main light for primary illumination, a fill light to soften shadows, and a hair light to separate the subject from the background. Adjust modifiers to control light quality and spread. Dial in initial camera settings: aperture for depth of field, shutter speed to freeze motion (or allow blur), and ISO for sensitivity. Set white balance accurately for consistent color rendition.
Posing and Expression Guidance
Many subjects are not professional models, making your guidance crucial. Start with natural, comfortable poses and gradually refine them. Provide specific, actionable directions for hands, posture, and head tilt. Encourage genuine expressions by engaging in conversation, telling jokes, or asking questions that elicit natural reactions. Vary angles (eye-level, high, low) and compositions (tight crops, wider environmental shots) to offer a diverse gallery. Regularly check in with the subject to ensure they remain comfortable and engaged throughout the session.
Pro Tip: During a portrait session, prioritize consistent communication with your subject. Regularly show them a few images on your camera's LCD screen. This builds confidence, allows for real-time adjustments to posing or expression, and ensures you're both moving towards the desired outcome, minimizing surprises during delivery.
Technical Checks
Even with careful setup, continuous technical monitoring is essential. Regularly check focus accuracy, especially on the eyes, using features like eye-autofocus where available. Review the histogram after key shots to confirm proper exposure, ensuring no critical highlights are blown out and no shadows are completely crushed. Take test shots to confirm lighting and exposure before the main sequence. Periodically review images on the camera's LCD for unexpected elements, missed focus, or unflattering expressions, allowing for immediate correction.
Post-Shoot Workflow: Securing and Delivering
The work doesn't end when the shutter clicks its last. A robust post-shoot workflow protects your work and ensures professional delivery.
Data Management and Backup
Immediately after the shoot, transfer all images from memory cards to your computer. Implement a redundant backup strategy: copy files to at least two separate locations, such as an external hard drive and a cloud storage service. This protects against data loss. Begin the culling process, making an initial selection of the strongest images and discarding obvious outtakes (blurry, misfired, unflattering). Organizing files into clearly named folders (e.g., "ClientName_Date_Raw," "ClientName_Date_Edits") streamlines future access.
Post-Processing and Retouching
Utilize professional software like Adobe Lightroom for initial adjustments and organization, and Adobe Photoshop for more detailed retouching. Apply global adjustments first: color correction, exposure compensation, white balance, and contrast. For portraits, focus on natural-looking skin retouching, removing temporary blemishes while preserving texture. Carefully crop and straighten images to enhance composition and visual impact. Maintain a consistent editing style across the entire gallery to create a cohesive body of work.
Delivery and Client Feedback
Present the final images professionally, typically through a secure online gallery. Offer options for print fulfillment if applicable. Watermark preview images if necessary, especially before final payment. Schedule a final review with the client to ensure their satisfaction and address any minor adjustments. Once approved, deliver the final high-resolution files. Finally, archive the entire project, including RAW files and final edits, for long-term storage.
Refining Your Portrait Process
A portrait photography checklist is a living document, not a static one. Regularly review and update it based on your experiences, new equipment, and evolving client needs. Each session offers insights into what worked well and what could be improved. By consistently refining your process, you not only elevate the quality of your work but also streamline your operations, allowing more time for creative expression and client engagement. This structured approach builds a reputation for reliability and professionalism, key factors in a competitive market. By following best practices for portrait photography, you can refine your process and elevate your work.
Frequently Asked Questions
How often should I review and update my portrait photography checklist?
Review your checklist at least quarterly, or after any significant change in your equipment, workflow, or client offerings. This ensures it remains relevant and effective.
Can this checklist be adapted for different portrait styles, like lifestyle or corporate?
Yes, the core structure remains valuable. Tailor specific sections, such as gear (e.g., more portable gear for lifestyle) or client consultation (e.g., specific branding discussions for corporate), to align with the unique demands of each style.
What is the most common mistake photographers make by not using a checklist?
The most common mistake is forgetting critical items, like charged batteries or formatted memory cards, or overlooking crucial pre-shoot discussions, leading to mismatched expectations and potential re-shoots.
Should I share parts of this checklist with my clients?
While the full technical checklist is for your internal use, sharing a client-facing version of the "Client Consultation and Vision Alignment" or "Wardrobe Guidance" sections can be highly beneficial. This empowers them to prepare effectively and contributes to a smoother session.