Producing consistent, high-quality visual assets for commercial use demands precision. Relying solely on intuition or memory for camera settings often leads to overlooked details, inconsistent results, and ultimately, wasted time in post-production. A structured camera settings checklist transforms a variable process into a repeatable workflow, ensuring every shot meets specific technical and aesthetic requirements. This systematic approach minimizes errors, optimizes capture efficiency, and guarantees that your visual content aligns with brand standards or project specifications from the moment the shutter clicks.
Establishing Your Baseline: Pre-Shoot Preparation
Before any shoot begins, a foundational check of equipment and initial camera configurations is essential. This stage sets the groundwork for technical consistency and prevents common oversights that can derail a session.
Physical Equipment Checks
- Battery Status: Confirm all batteries (camera, flash, accessories) are fully charged. Carry spares.
- Memory Cards: Insert formatted cards with sufficient space. Verify correct card slot selection if using dual slots.
- Lens and Sensor Cleanliness: Inspect lenses for dust, smudges, or fingerprints. Check the sensor for spots, especially after lens changes.
- Strap and Mount Security: Ensure camera strap is securely attached. If using a tripod, confirm quick-release plate is tight and tripod is stable.
- Firmware: Briefly check if camera and lens firmware are up to date, although this is usually done less frequently than per-shoot.
Initial Camera System Settings
These are often "set and forget" until a specific project demands a change, but a quick confirmation is prudent.
- File Format: RAW for maximum post-processing flexibility; JPEG for immediate use or smaller file sizes. RAW+JPEG offers both.
- Image Quality/Size: Highest resolution for commercial work.
- Color Space: sRGB for web, Adobe RGB for print, unless specific workflows dictate otherwise.
- Date and Time: Critical for file organization and metadata accuracy.
- Copyright Information: Embed copyright details directly into image metadata.
The Exposure Triangle: Aperture, Shutter, ISO
These three settings are interdependent and dictate the brightness and specific aesthetic qualities of an image. Understanding their relationship is fundamental to achieving desired outcomes.
Aperture (f-stop)
Controls the amount of light entering the lens and the depth of field (DoF).
Best for:
- Shallow DoF (e.g., f/1.8-f/4): Isolating subjects, creating bokeh for portraits or product shots.
- Deep DoF (e.g., f/8-f/16): Keeping entire scenes sharp, such as landscapes or architectural photography.
Shutter Speed
Determines the duration the sensor is exposed to light and affects motion blur.
Best for:
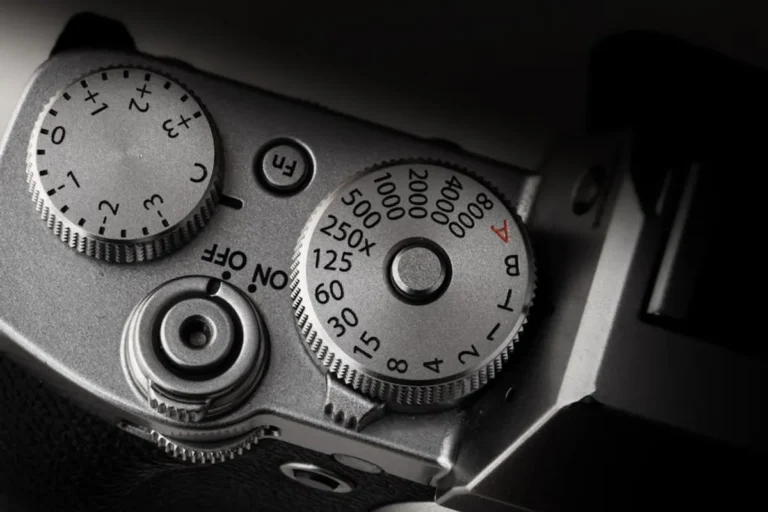
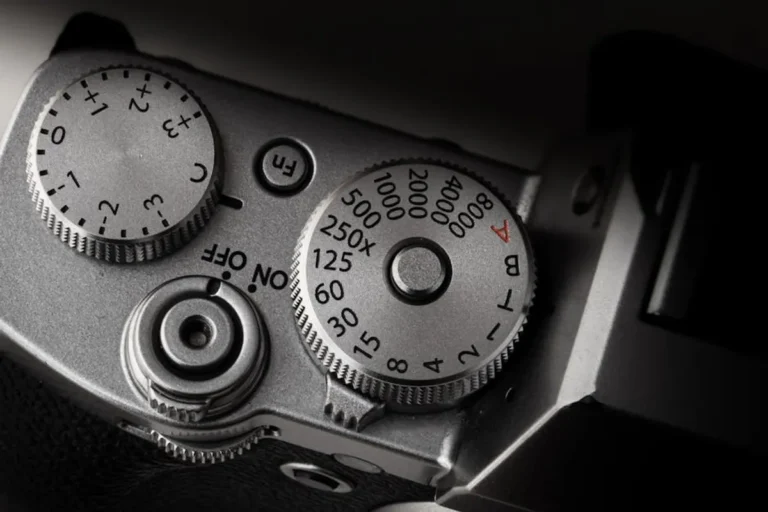
- Freezing Motion (e.g., 1/500s or faster): Sports, active subjects, eliminating camera shake.
- Creating Motion Blur (e.g., 1/30s or slower): Conveying movement in water, light trails, or creative effects.
- Handheld Stability: Generally, 1/focal length (e.g., 1/50s for a 50mm lens) is a minimum for sharpness without stabilization.
ISO
Adjusts the sensor's sensitivity to light. Higher ISO values increase brightness but introduce digital noise.
Best for:
- Lowest Possible ISO (e.g., ISO 100-400): Optimal image quality, minimal noise, when light is abundant.
- Increased ISO (e.g., ISO 800-3200+): Low-light conditions, when aperture and shutter speed cannot be adjusted further without compromising the shot.
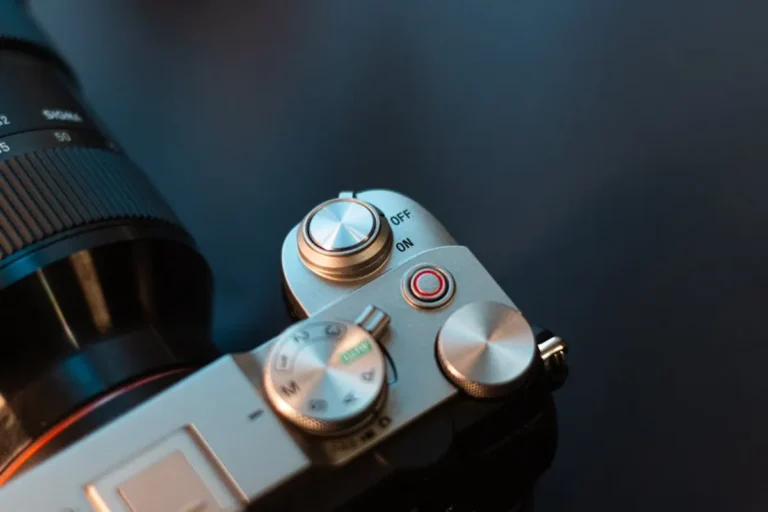
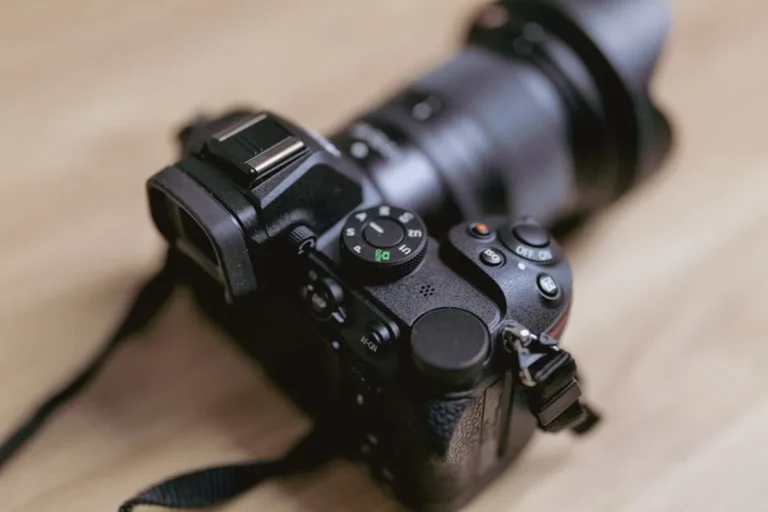
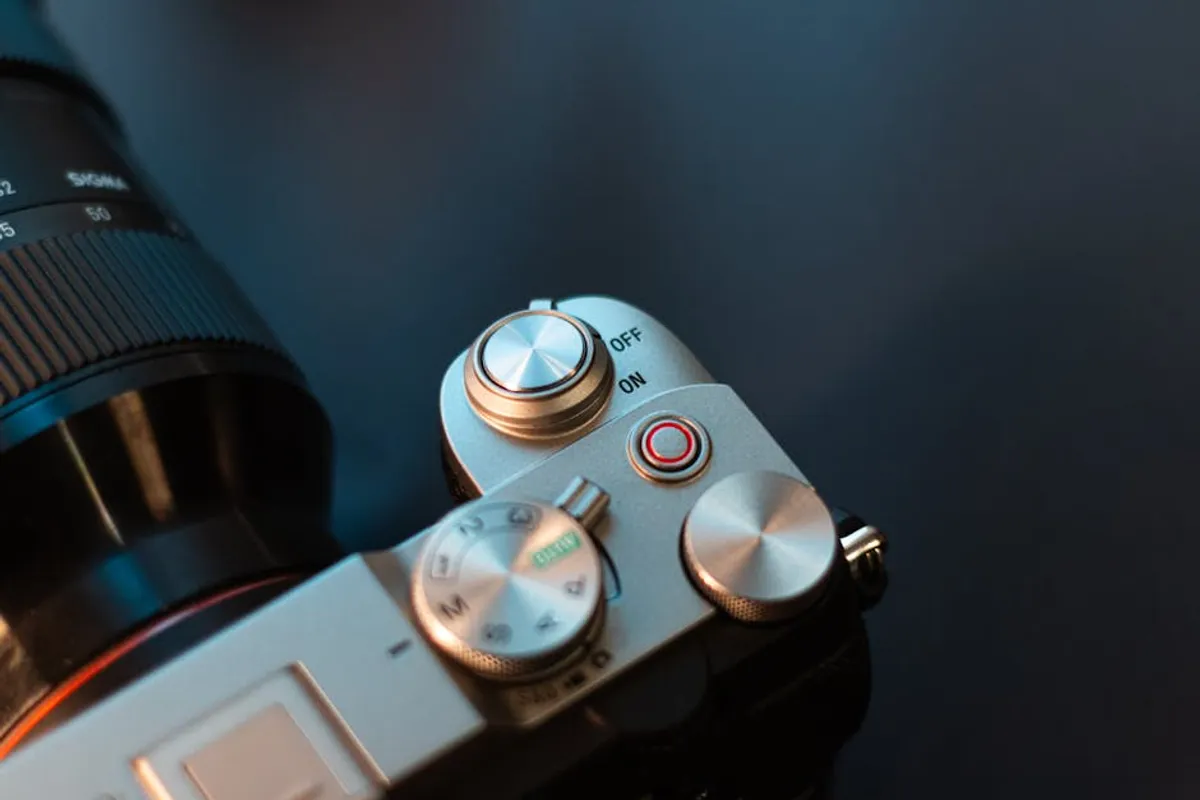
Pro Tip: Utilize your camera's custom shooting modes (C1, C2, C3, or U1, U2, U3) to save frequently used combinations of aperture, shutter speed, and ISO for specific scenarios. For instance, one custom mode for studio product shots, another for outdoor portraits, and a third for low-light event photography. This significantly reduces setup time and ensures consistent starting points.
Achieving Critical Focus and Sharpness
A sharp image is paramount for commercial photography. Correct focus settings ensure subjects are rendered with clarity.
Autofocus (AF) Modes
Best for:
- Single-Shot AF (AF-S/One-Shot AF): Stationary subjects, precise focus confirmation before shooting.
- Continuous AF (AF-C/AI Servo AF): Moving subjects, tracking focus as the subject changes position.
- Automatic AF (AF-A/AI Focus AF): Hybrid mode attempting to switch between single and continuous based on subject movement. Less predictable for critical work.
AF Area Modes
Best for:
- Single-Point AF: Pinpoint accuracy, especially for complex compositions or specific details.
- Zone AF/Dynamic Area AF: Tracking subjects within a defined area.
- Wide Area/Auto Area AF: General scenes, less precise control.
Manual Focus (MF)
Best for: Macro photography, still life, precise focus stacking, or situations where autofocus struggles (e.g., very low light, intricate patterns).
Color Fidelity: White Balance and Picture Styles
Accurate color reproduction is crucial for brand consistency and product representation.
White Balance (WB)
Corrects color casts caused by different light sources, ensuring whites appear neutral.
Best for:
- Custom White Balance: Most accurate for controlled lighting (studio, specific light sources). Use a gray card or white balance target.
- Preset White Balance: Daylight, Cloudy, Tungsten, Fluorescent, Flash – useful starting points for known conditions.
- Auto White Balance (AWB): Convenient for varied or rapidly changing light, but can be inconsistent for color-critical work.
Picture Styles/Profiles
These in-camera settings affect how the camera processes colors, contrast, and sharpness for JPEGs. For RAW files, they serve as a preview.
Best for:
- Neutral/Flat Profile: When shooting RAW, provides a less processed starting point for maximum flexibility in post-production.
- Standard/Vivid Profile: For JPEGs where immediate impact is desired (e.g., social media, quick previews).
Framing and Compositional Tools
While composition is an artistic choice, camera settings can aid in achieving precise framing.
Grid Display
Overlaying a rule-of-thirds or golden ratio grid in the viewfinder or LCD helps with alignment and compositional balance.
Horizon Level
An electronic level ensures straight horizons and verticals, essential for architectural, product, and landscape photography.
Post-Capture Review and Data Management
The work doesn't end with the click. Reviewing images and managing data immediately after capture saves significant time and prevents loss.
Image Review Settings
Best for:
- Highlight Alert/Zebra Stripes: Visually identifies overexposed areas, allowing immediate correction.
- Histogram Display: Provides a graphical representation of tonal distribution, confirming correct exposure across the entire image.
- Magnification/Zoom: Critically check focus and sharpness on the LCD.
Data Management Workflow
Best for:
- Immediate Backup: Transfer images from memory cards to at least two separate storage locations (e.g., external hard drive and cloud).
- Card Formatting: Format cards in-camera after successful transfer and backup, never delete files individually.
Implementing Your Workflow for Consistent Results
A camera settings checklist is most effective when integrated into a repeatable workflow. Print it, laminate it, or keep it on a mobile device for quick reference. Over time, many of these checks become second nature, but for critical projects or new equipment, a systematic review remains invaluable. This diligence translates directly into higher quality output, reduced re-shoots, and a more efficient creative process, ultimately enhancing your commercial photography efforts.
Frequently Asked Questions
Why is a camera settings checklist important for commercial photography?
A checklist ensures technical consistency across all images, minimizes errors, and streamlines the capture process, which is critical for meeting client expectations and maintaining brand standards in commercial work.
How often should I use a camera settings checklist?
Ideally, review your checklist before every major shoot, especially when changing locations, lighting conditions, or lenses. For routine or familiar setups, a quick mental check of the most critical items can suffice, but a full review is recommended periodically or when issues arise.
What is the single most critical setting to check before every shot?
While all settings are important, ensuring correct exposure (a balance of aperture, shutter speed, and ISO) and critical focus is paramount, as these directly impact the fundamental quality and usability of an image. Incorrect exposure or focus cannot always be fully corrected in post-production.
Can I create custom settings profiles on my camera to speed up this process?
Yes, most modern DSLRs and mirrorless cameras offer custom shooting modes (often labeled C1, C2, U1, U2, etc.) where you can save specific combinations of settings. This allows you to quickly switch between optimized setups for different shooting scenarios, significantly speeding up preparation.