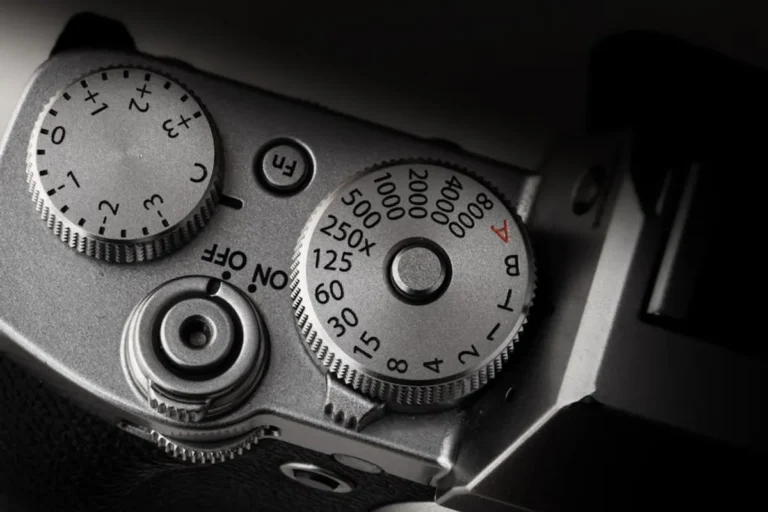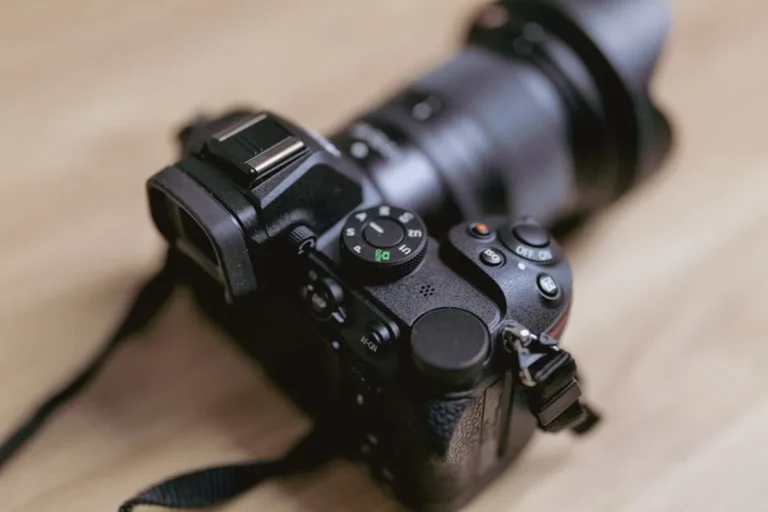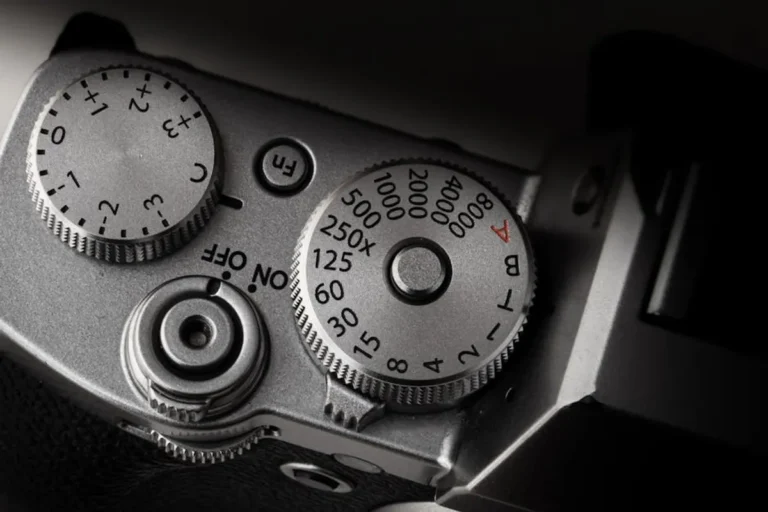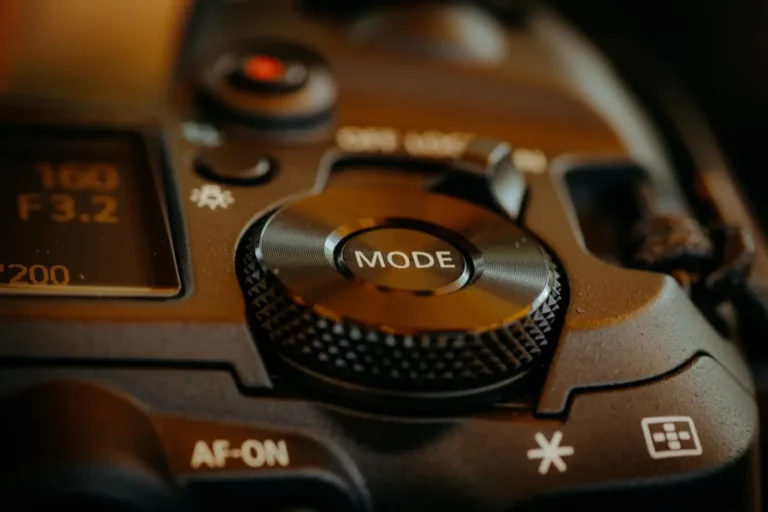
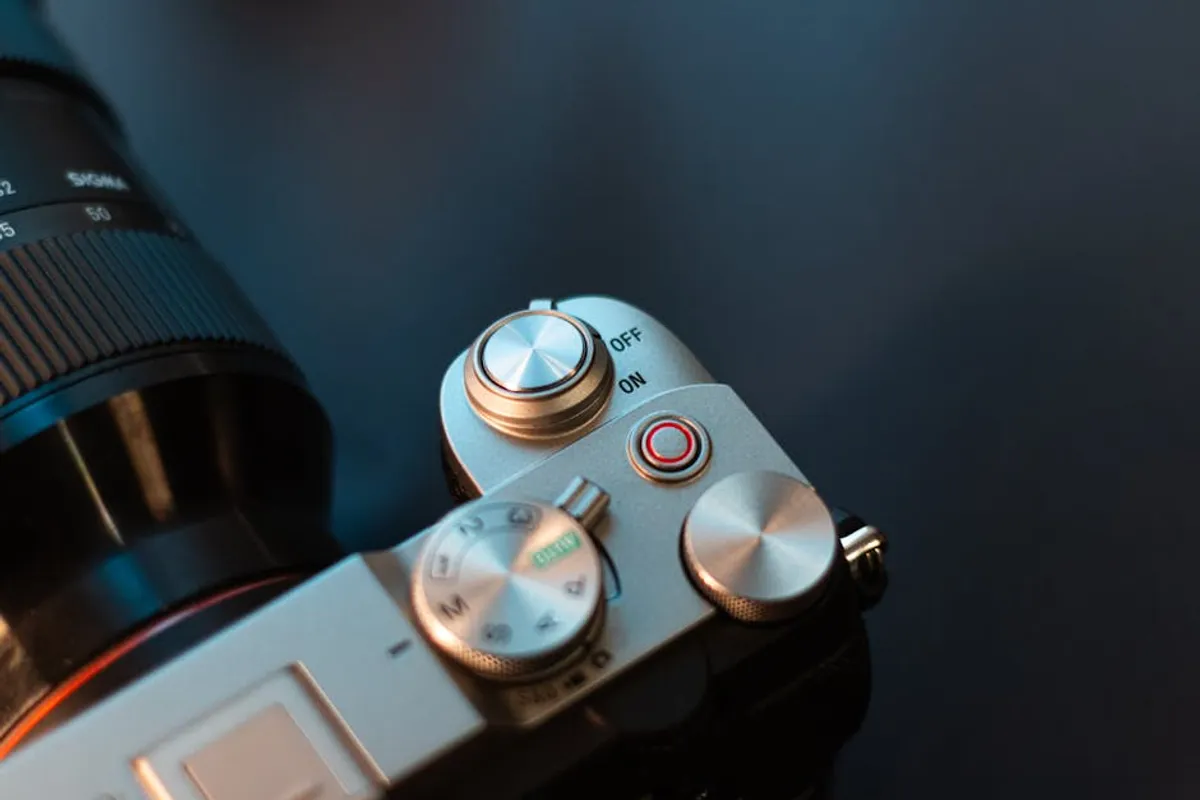
Understanding camera settings moves photography beyond mere snapshots into intentional image creation, directly impacting the visual quality and message conveyed by your content. For professionals relying on high-quality visuals—whether for product showcases, brand storytelling, or editorial features—mastering these controls translates into consistent, impactful imagery that resonates with audiences and supports commercial objectives. This comprehensive overview dissects the core settings, explaining their individual functions and how their interplay dictates the final look and feel of every photograph.
The Exposure Triangle: Foundation of Image Control
The exposure triangle—comprising aperture, shutter speed, and ISO—represents the three fundamental settings that collectively control the brightness of an image. Adjusting any one of these directly affects the others, requiring a balanced approach to achieve optimal exposure without compromising other creative elements.
Aperture: Controlling Depth of Field and Light
Aperture refers to the opening in your lens that allows light to pass through to the camera's sensor. It is measured in f-stops (e.g., f/1.8, f/5.6, f/22). A smaller f-number indicates a larger aperture opening, allowing more light in and creating a shallower depth of field. Conversely, a larger f-number signifies a smaller opening, letting in less light and producing a greater depth of field.
- Large Aperture (small f-number, e.g., f/1.8):
- Light: More light reaches the sensor, useful in low-light conditions.
- Depth of Field: Creates a shallow depth of field, blurring the background (bokeh) and isolating the subject. Ideal for portraits or product photography where the subject needs to stand out sharply.
- Small Aperture (large f-number, e.g., f/16):
- Light: Less light reaches the sensor, requiring longer shutter speeds or higher ISO in dimmer environments.
- Depth of Field: Produces a deep depth of field, keeping both foreground and background in sharp focus. Essential for landscapes, architectural photography, or group shots where overall sharpness is critical.
Shutter Speed: Freezing Motion and Managing Light
Shutter speed dictates the duration for which the camera's sensor is exposed to light. It is measured in fractions of a second (e.g., 1/1000s, 1/60s) or full seconds (e.g., 1s, 30s). A faster shutter speed reduces the amount of light hitting the sensor but effectively freezes motion, while a slower shutter speed allows more light but introduces motion blur.
- Fast Shutter Speed (e.g., 1/1000s):
- Motion: Freezes fast-moving subjects, capturing crisp details in sports, wildlife, or action shots.
- Light: Reduces light intake, often requiring a wider aperture or higher ISO in darker settings.
- Slow Shutter Speed (e.g., 1/30s or longer):
- Motion: Creates intentional motion blur, useful for conveying movement in water, clouds, or light trails. Requires a tripod to prevent camera shake.
- Light: Increases light intake, beneficial in low-light scenarios to achieve proper exposure without excessive ISO.
ISO: Sensor Sensitivity and Digital Noise
ISO represents the sensitivity of your camera's sensor to light. A lower ISO setting (e.g., ISO 100) means less sensitivity and produces cleaner images with minimal digital noise. A higher ISO setting (e.g., ISO 3200) increases sensitivity, allowing for photography in darker environments but at the cost of introducing visible grain or noise into the image.
- Low ISO (e.g., ISO 100-400):
- Sensitivity: Low sensitivity, ideal for well-lit conditions.
- Image Quality: Produces the cleanest images with the finest detail and least noise. Always prioritize the lowest possible ISO for optimal image fidelity.
- High ISO (e.g., ISO 1600+):
- Sensitivity: High sensitivity, necessary for challenging low-light situations where a wider aperture or slower shutter speed is not feasible.
- Image Quality: Introduces digital noise, which can degrade image quality, reducing fine detail and color accuracy. Modern cameras manage high ISO better, but noise remains a factor.
Beyond the Triangle: Essential Supplementary Settings
While the exposure triangle forms the core, several other settings are crucial for accurate and aesthetically pleasing results, influencing color, sharpness, and overall image integrity.
White Balance: Accurate Color Rendition
White balance adjusts the color temperature of your image to ensure that white objects appear truly white, preventing unwanted color casts (e.g., blueish tones under fluorescent lights, yellowish tones under incandescent bulbs). Cameras offer various presets to match common lighting conditions:
- Auto White Balance (AWB): Camera attempts to automatically detect and correct color temperature. Effective in many situations but can be inconsistent under mixed lighting.
- Presets: Options like Daylight, Cloudy, Shade, Tungsten, Fluorescent, Flash. These apply specific color temperature corrections tailored to those light sources.
- Custom White Balance: Allows you to manually set the white balance by photographing a neutral gray card or white object under the specific lighting conditions, providing the most accurate color rendition.
Focus Modes: Ensuring Sharpness Where It Counts
Selecting the correct focus mode is paramount for achieving sharp subjects. Different modes are designed for stationary versus moving subjects:
- Single-Shot AF (AF-S / One-Shot AF): Locks focus once acquired. Best for stationary subjects like landscapes, portraits, or still life, where the subject is not expected to move after focus is achieved.
- Continuous AF (AF-C / AI Servo AF): Continuously adjusts focus as the subject moves. Ideal for tracking moving subjects such as sports, wildlife, or children, ensuring they remain sharp even if their distance to the camera changes.
- Automatic AF (AF-A / AI Focus AF): Camera automatically switches between single-shot and continuous modes based on subject movement. Can be convenient but less predictable than dedicated modes for critical applications.
Metering Modes: Guiding Exposure Decisions
Metering modes determine how your camera measures the light in a scene to calculate the correct exposure. The choice depends on the lighting complexity and your subject's importance within the frame:
- Evaluative/Matrix Metering: Analyzes the entire scene, dividing it into zones and calculating an overall exposure. Generally reliable for most general photography.
- Center-Weighted Metering: Primarily measures light from the center of the frame, giving less emphasis to the edges. Useful when the main subject is in the middle and background lighting is irrelevant.
- Spot Metering: Measures light from a very small, precise area (typically 1-5% of the frame). Essential for challenging lighting, such as backlighting or high-contrast scenes, where you need precise exposure on a specific part of your subject.
Image Quality and File Formats
The choice of file format significantly impacts post-processing flexibility and final image quality.
Pro Tip: For maximum editing flexibility and image quality, always shoot in RAW format. RAW files contain unprocessed sensor data, offering significantly more dynamic range and color information compared to JPEGs. This allows for greater latitude in correcting exposure, white balance, and color during post-processing without introducing artifacts, ultimately yielding a more refined final product for commercial use.
RAW: Uncompressed and unprocessed data directly from the camera sensor. Provides the highest quality and maximum flexibility for adjustments in post-production, retaining extensive detail in highlights and shadows. Requires specialized software (e.g., Adobe Lightroom, Capture One) for processing.
JPEG: A compressed image format that processes and discards some image data in-camera. Smaller file sizes, immediately viewable, but offers less flexibility for extensive editing before quality degradation becomes apparent.
Putting It All Together: Mastering Your Camera's Controls
Understanding individual camera settings is the first step; mastering their interplay is the goal. Effective photography involves making conscious decisions about how aperture, shutter speed, and ISO combine to achieve a desired creative and technical outcome, supported by accurate white balance, precise focus, and appropriate metering. This iterative process of adjustment and evaluation refines your eye and technical proficiency.
Start by experimenting in different lighting conditions and with various subjects. Observe how changing one setting necessitates adjustments to others to maintain proper exposure. For instance, if you want a shallow depth of field (wide aperture), you might need a faster shutter speed or lower ISO to prevent overexposure in bright light. Conversely, in low light, you might open the aperture wide, slow the shutter, and increase ISO cautiously to capture enough light.
Consistent practice builds an intuitive understanding of these controls, allowing you to quickly adapt to diverse shooting scenarios and consistently produce high-quality, commercially viable images that meet specific project requirements.
Frequently Asked Questions
What is the most important camera setting?
No single setting is universally "most important"; rather, it's the interplay of aperture, shutter speed, and ISO that determines exposure and creative outcomes. Each setting addresses a specific need: aperture controls depth of field, shutter speed manages motion, and ISO dictates sensor sensitivity. The optimal balance depends entirely on your subject, lighting, and desired aesthetic.
How do I know what settings to use?
Begin by assessing your primary goal: do you need a blurred background (wide aperture), frozen motion (fast shutter), or to shoot in low light (higher ISO)? Select the setting that directly addresses this priority, then adjust the other two exposure triangle elements to achieve correct exposure. Use your camera's light meter as a guide and review your images to fine-tune. Practice in varied conditions builds intuition.
Should I always shoot in manual mode?
Manual mode offers complete control, which is invaluable for consistent results in challenging or controlled lighting, such as studio work or complex scenes. However, aperture priority (Av/A) or shutter priority (Tv/S) modes can be more efficient for rapidly changing conditions, allowing you to control one key variable while the camera automates the other two for exposure. Learning to use all modes strategically enhances adaptability.
What is the best file format for photography?
For maximum image quality and post-processing flexibility, RAW is superior. It retains all sensor data, allowing for significant corrections to exposure, white balance, and color without degradation. JPEG is suitable for immediate sharing or when file size is a critical concern, but it involves in-camera compression and discards data, limiting editing potential.