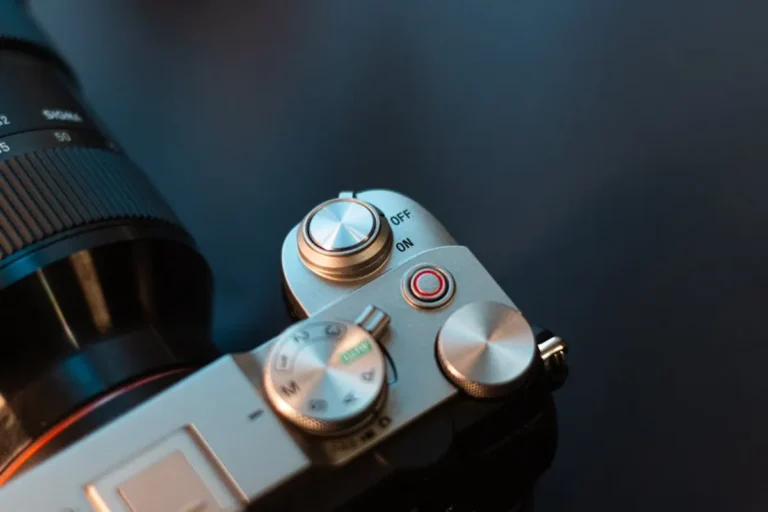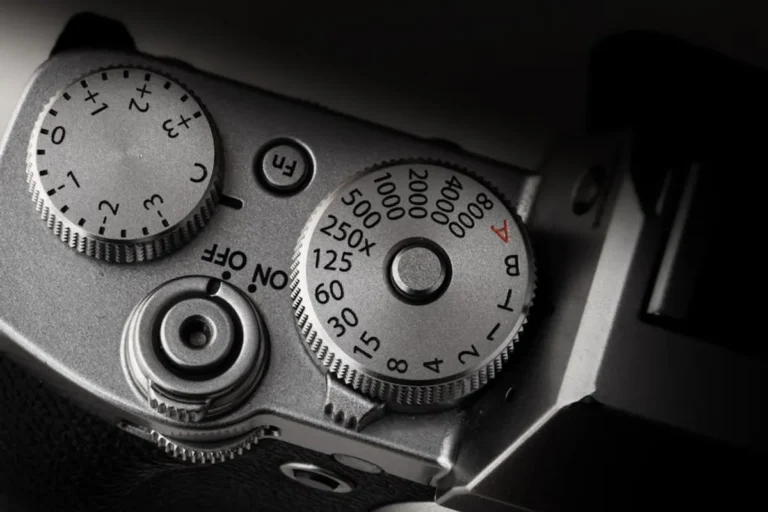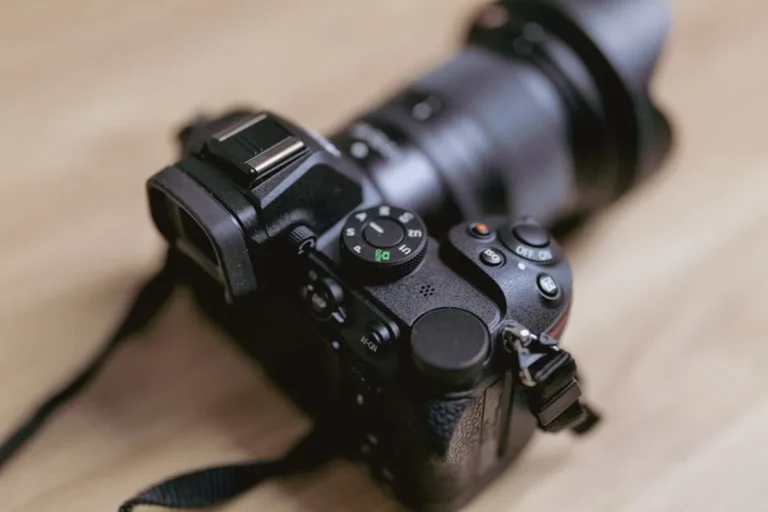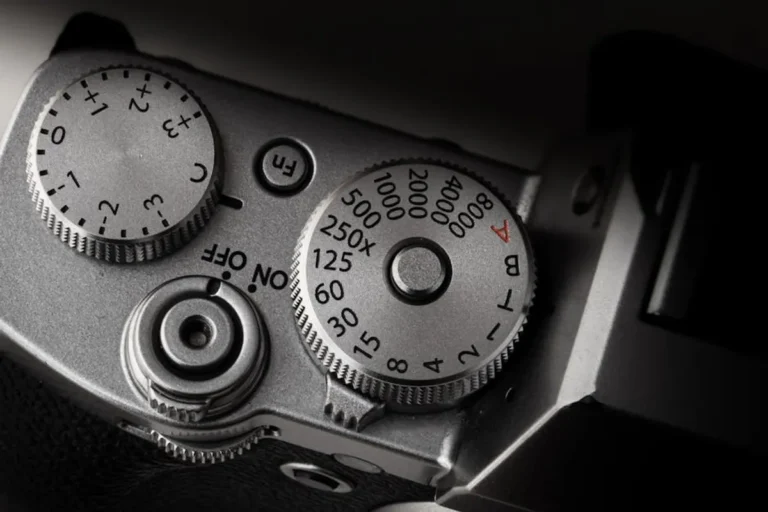
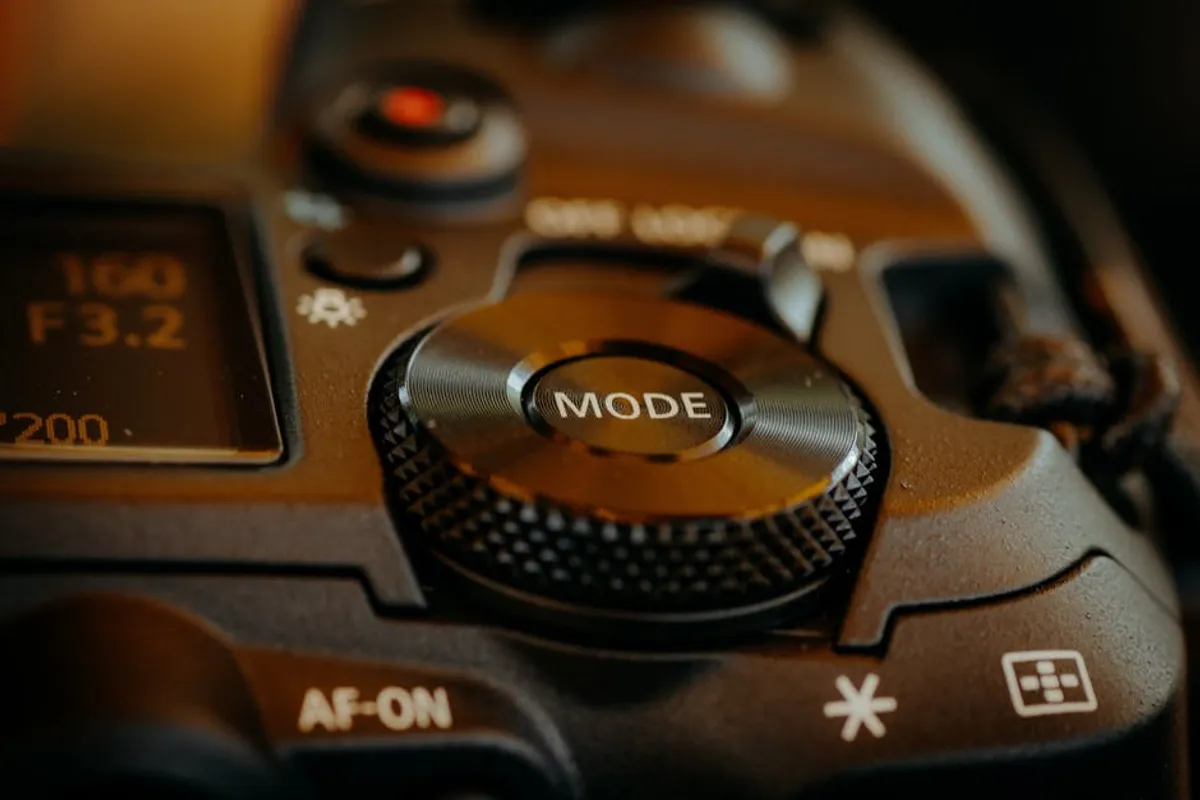
Understanding camera settings moves photography beyond mere point-and-shoot capture, transforming it into a deliberate act of image creation. For anyone producing visual content, whether for product showcases, brand storytelling, or editorial features, a grasp of these core controls dictates the final aesthetic, impact, and technical quality of an image. This foundational knowledge allows for consistent results, adaptability in varied lighting conditions, and the ability to convey specific moods or emphasize particular details—all crucial elements in effective visual communication.
The Exposure Triangle: Aperture, Shutter Speed, and ISO
The exposure triangle represents the three fundamental settings that control the brightness of an image: aperture, shutter speed, and ISO. Each impacts not only light but also distinct visual characteristics. Mastering their interplay is central to achieving desired photographic outcomes.
Aperture: Controlling Depth and Light
Aperture refers to the opening within the lens that allows light to pass through to the camera sensor. It is measured in f-stops (e.g., f/2.8, f/5.6, f/11). A smaller f-number (e.g., f/2.8) indicates a wider aperture, letting in more light and resulting in a shallower depth of field—where the subject is sharp, but the background is blurred. Conversely, a larger f-number (e.g., f/16) signifies a narrower aperture, admitting less light and producing a greater depth of field, keeping more of the scene in focus.
- Wider Aperture (smaller f-number): More light, shallower depth of field (blurry background), often used for portraits or isolating subjects.
- Narrower Aperture (larger f-number): Less light, greater depth of field (more in focus), commonly used for landscapes or group shots.
Shutter Speed: Freezing or Blurring Motion
Shutter speed dictates the duration the camera's sensor is exposed to light. Measured in fractions of a second (e.g., 1/1000s, 1/60s) or full seconds, it directly influences how motion is captured. A fast shutter speed (e.g., 1/1000s) freezes action, ideal for sports or fast-moving subjects. A slow shutter speed (e.g., 1/30s or longer) allows for motion blur, often employed for creative effects like flowing water or light trails. Longer shutter speeds also admit more light, requiring careful consideration of aperture and ISO to avoid overexposure.
ISO: Sensor Sensitivity and Digital Noise
ISO determines the camera sensor's sensitivity to light. A lower ISO (e.g., 100, 200) indicates less sensitivity, producing cleaner images with minimal digital noise (grain) but requiring more light. A higher ISO (e.g., 1600, 3200) increases sensitivity, enabling photography in low-light conditions but introducing more noticeable noise. The goal is typically to use the lowest ISO possible while maintaining adequate exposure and shutter speed for the scene.
Pro Tip: When balancing the exposure triangle, prioritize the setting that most critically impacts your creative vision first. If depth of field is paramount, set aperture. If freezing motion is key, set shutter speed. Then adjust the remaining two settings to achieve correct exposure, reserving ISO as the last resort to manage noise.
Controlling Color Accuracy with White Balance
White balance corrects for color casts caused by different light sources, ensuring that white objects appear truly white in the photograph. Light sources like incandescent bulbs, fluorescent lights, or direct sunlight each have distinct color temperatures. Cameras offer preset white balance options (e.g., Daylight, Cloudy, Tungsten, Fluorescent) and a custom white balance setting, allowing photographers to measure the ambient light and achieve accurate color reproduction. Consistent and accurate white balance is critical for product photography and brand imagery where color fidelity is essential.
Achieving Sharpness: Focus Modes and Points
Sharpness is a primary indicator of image quality. Camera focus mechanisms ensure that the intended subject is rendered clearly. Digital cameras offer various autofocus (AF) modes and focus point selection options:
- Single-Shot AF (AF-S / One-Shot AF): Locks focus once the shutter button is half-pressed, suitable for stationary subjects.
- Continuous AF (AF-C / AI Servo AF): Continuously adjusts focus as the subject moves, ideal for tracking moving subjects like athletes or wildlife.
- Automatic AF (AF-A / AI Focus AF): The camera automatically switches between single-shot and continuous modes based on subject movement.
Selecting specific focus points allows precise control over where the camera focuses, preventing it from locking onto an unintended background element. Manual focus, while slower, provides ultimate control for intricate macro work or challenging lighting conditions.
Reading Light: Metering Modes Explained
Metering modes determine how the camera measures the light in a scene to calculate the correct exposure. Different modes prioritize different areas of the frame:
- Evaluative/Matrix Metering: Analyzes the entire scene, dividing it into zones and considering factors like subject distance and brightness, aiming for a balanced exposure. This is the default and most versatile mode for general photography.
- Center-Weighted Metering: Primarily measures light from the central area of the frame, giving less emphasis to the edges. Useful when the main subject is in the center and the background lighting is significantly different.
- Spot Metering: Measures light from a very small, specific area (typically 1-5% of the frame) around the active focus point. Essential for high-contrast scenes or when precise exposure on a small subject is critical, such as a backlit portrait.
Image Quality and File Formats: RAW vs. JPEG
The choice of file format impacts image quality, file size, and post-processing flexibility.
- JPEG (Joint Photographic Experts Group): A compressed file format that processes and discards some image data in-camera. JPEGs are smaller, universally compatible, and ready for immediate use, but offer less flexibility for significant post-processing adjustments without degrading quality.
- RAW: An uncompressed, unprocessed file format that retains all the data captured by the camera sensor. RAW files are much larger but provide maximum flexibility for color correction, exposure adjustments, and detail recovery in post-processing. They are the industry standard for professional photography where extensive editing is anticipated.
For commercial applications, shooting in RAW is often preferred due to the greater control it offers during editing, ensuring images can be fine-tuned to meet specific brand guidelines or publication requirements.
Applying Camera Settings for Impactful Visuals
Understanding how camera settings work individually and in concert empowers photographers and content creators to move beyond automatic modes and make deliberate choices. This control translates directly into images that are not just technically sound but also creatively expressive. By mastering aperture for depth, shutter speed for motion, ISO for light sensitivity, white balance for color accuracy, focus for sharpness, and metering for exposure, you gain the ability to consistently produce high-quality visual assets tailored to specific marketing and communication objectives. By mastering these core camera controls, you can ensure your visual assets are consistently high-quality and tailored to specific marketing objectives.
Frequently Asked Questions
What is the most important camera setting to learn first?
Begin with aperture, shutter speed, and ISO, as these three settings form the "exposure triangle" and fundamentally control how light is captured and how your image looks. Understanding their interplay is crucial before moving to other advanced settings.
How do I get sharp photos consistently?
Achieve sharp photos by ensuring adequate shutter speed to prevent camera shake or motion blur, using appropriate autofocus modes (e.g., AF-S for stationary, AF-C for moving subjects), selecting precise focus points, and utilizing a stable tripod when conditions permit.
When should I use manual mode on my camera?
Manual mode is best used when you need complete control over exposure and creative effects, such as in challenging or consistent lighting conditions, for specific artistic outcomes (e.g., long exposures), or when you want to ensure precise, repeatable results across a series of images.
What is the primary difference between aperture and shutter speed?
Aperture controls the amount of light entering the lens and primarily affects depth of field (how much of the scene is in focus). Shutter speed controls the duration the sensor is exposed to light and primarily affects how motion is captured (freezing or blurring action).