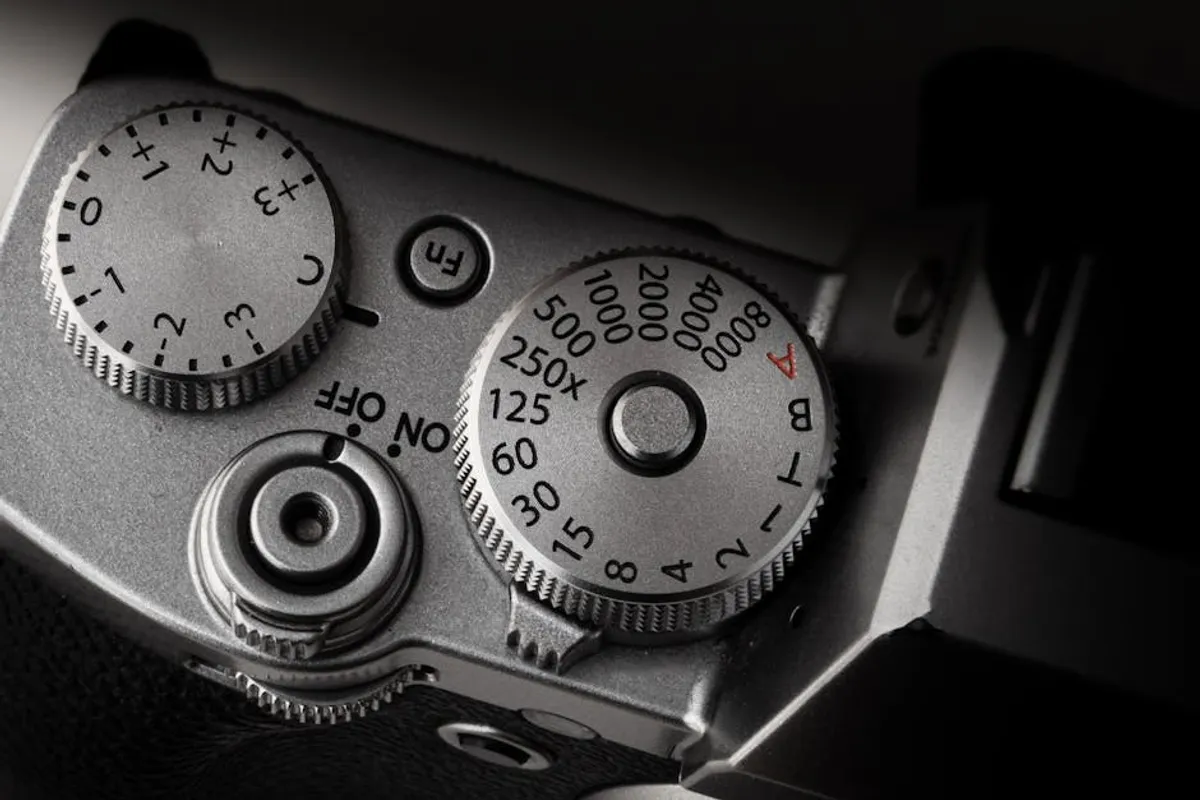
Achieving consistently high-quality visual content, whether for product showcases, marketing campaigns, or editorial features, hinges directly on a precise understanding and application of camera settings. Random adjustments yield inconsistent results, undermining brand perception and visual communication effectiveness. This guide focuses on the foundational camera controls that dictate exposure, sharpness, color accuracy, and motion rendition, providing a framework for deliberate, repeatable photographic outcomes. Random adjustments yield inconsistent results, undermining brand perception and visual communication effectiveness, so it's vital to avoid common camera setting mistakes.
Mastering the Exposure Triangle: Aperture, Shutter Speed, and ISO
The exposure triangle represents the three interdependent settings that control the amount of light reaching your camera's sensor and, consequently, the brightness of your image. Adjusting one often necessitates adjusting another to maintain desired exposure. Adjusting one often necessitates adjusting another to maintain desired exposure, and these interdependent settings offer many tips for camera settings.
Aperture: Depth of Field and Light Control
Aperture refers to the opening within your lens that allows light to pass through. Measured in f-stops (e.g., f/2.8, f/8, f/16), a smaller f-number indicates a wider opening, letting in more light and producing a shallower depth of field (more background blur). Conversely, a larger f-number signifies a narrower opening, reducing light intake and increasing depth of field (more in-focus background).
- Wider Apertures (smaller f-numbers, e.g., f/1.8 - f/4): Ideal for isolating subjects, creating bokeh, and shooting in low light. Useful for portraits, product detail shots, or any scenario where background distraction should be minimized.
- Narrower Apertures (larger f-numbers, e.g., f/8 - f/16): Essential for landscapes, group photos, or architectural shots where maximum sharpness from foreground to background is required. Also used to ensure full product focus in commercial photography.
Shutter Speed: Motion and Light Capture
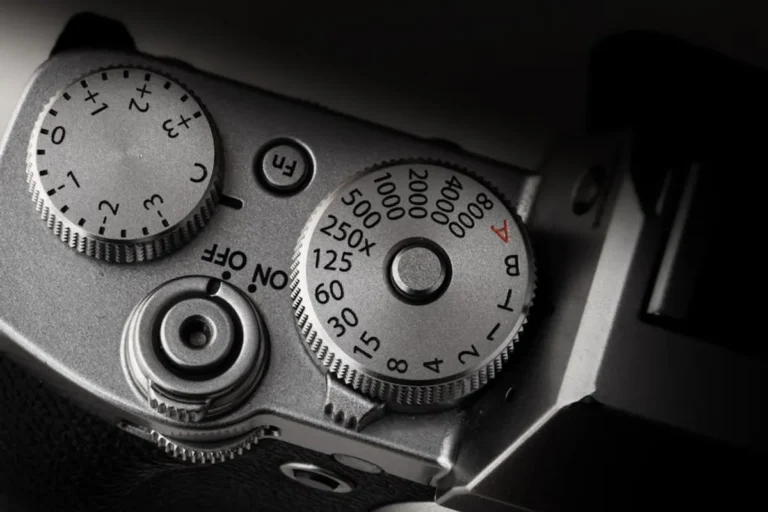
Shutter speed dictates the duration the camera's sensor is exposed to light. Measured in fractions of a second (e.g., 1/1000s, 1/60s) or full seconds, it directly impacts how motion is rendered in an image. Faster speeds freeze motion, while slower speeds introduce motion blur.
- Fast Shutter Speeds (e.g., 1/500s and faster): Crucial for capturing fast-moving subjects like sports, wildlife, or children, ensuring sharp, frozen action. Also helps prevent camera shake when hand-holding in bright conditions.
- Slow Shutter Speeds (e.g., 1/30s and slower): Used creatively to convey motion, such as silky water in a landscape or light trails. Requires a tripod to prevent camera shake from blurring static elements.
ISO: Sensor Sensitivity and Noise
ISO controls the sensitivity of your camera's sensor to light. A lower ISO (e.g., ISO 100-200) provides the cleanest image with the least digital noise, ideal for well-lit conditions. As ISO increases (e.g., ISO 800, 1600, 3200+), the sensor becomes more sensitive, allowing for proper exposure in darker environments, but at the cost of introducing noticeable image noise or grain.
Best practice: Always aim for the lowest possible ISO setting that still allows for proper exposure with your chosen aperture and shutter speed. Increase ISO only when necessary, prioritizing a well-exposed, sharp image over absolute noise absence, especially if the alternative is a blurry or underexposed shot.
Pro Tip: When hand-holding a camera, a general rule for avoiding camera shake is to use a shutter speed at least as fast as the reciprocal of your focal length (e.g., for a 50mm lens, use 1/50th of a second or faster). For longer lenses or less stable conditions, increase shutter speed or use image stabilization.
Ensuring Color Accuracy with White Balance
White balance (WB) corrects color casts, ensuring that white objects appear truly white in your photographs, regardless of the ambient light source. Different light sources (e.g., daylight, tungsten, fluorescent) emit light at varying color temperatures, which your camera interprets. Incorrect white balance can lead to images with an undesirable blue, orange, or green tint.
Most cameras offer automatic white balance (AWB), which performs well in many situations. However, for critical color accuracy, especially in commercial or product photography, manual white balance settings or custom white balance are preferred. Common presets include:
- Daylight/Sunny: For outdoor shooting in direct sunlight.
- Cloudy: Warms up images shot under overcast skies.
- Shade: Adds warmth to images shot in shaded areas, which tend to be cooler.
- Tungsten/Incandescent: Cools down the warm, yellowish cast of indoor incandescent bulbs.
- Fluorescent: Corrects the green tint often associated with fluorescent lighting.
- Flash: Balances the color temperature of electronic flash.
For maximum control and flexibility in post-processing, shooting in RAW format allows you to adjust white balance precisely without quality degradation.
Achieving Sharpness with Focus Modes
Accurate focus is paramount for professional-grade images. Understanding your camera's autofocus (AF) modes allows you to select the appropriate setting for your subject.
- Single-Shot AF (AF-S/One-Shot AF): Locks focus once acquired. Ideal for stationary subjects like landscapes, portraits, or still life. The shutter will not fire until focus is confirmed.
- Continuous AF (AF-C/AI Servo AF): Continuously adjusts focus as the subject moves. Essential for tracking moving subjects like sports, wildlife, or active children.
- Automatic AF (AF-A/AI Focus AF): Automatically switches between single-shot and continuous modes based on subject movement. While convenient, it can be less predictable than manually selecting the specific mode.
Beyond the mode, consider your AF point selection. Using a single, central AF point often offers the most accuracy, allowing you to focus and then recompose if necessary. For more complex compositions, multi-point AF systems can track subjects across the frame.
Optimizing Exposure with Metering Modes
Metering modes determine how your camera evaluates the brightness of a scene to calculate the correct exposure. Different modes prioritize different areas of the frame.
- Evaluative/Matrix Metering: Analyzes the entire scene, considering brightness, color, and subject distance to determine an average exposure. This is the default and most versatile mode for general photography.
- Center-Weighted Metering: Prioritizes the central area of the frame while still considering the edges. Useful when your main subject is in the middle but you want some context from the surroundings.
- Spot Metering: Measures light from a very small, specific area (typically 1-5% of the frame). Indispensable for high-contrast scenes, backlighting, or when precise exposure on a specific subject is critical, such as a backlit portrait or a bird against a bright sky.
File Formats: RAW vs. JPEG
The choice between RAW and JPEG impacts image quality, file size, and post-processing flexibility.
- JPEG: A compressed file format that processes and discards some image data in-camera. Smaller file sizes, ready for immediate use, but offers limited flexibility for significant adjustments in post-production without quality loss.
- RAW: An uncompressed, unprocessed file format containing all the data captured by the sensor. Larger file sizes, requires post-processing (e.g., in Lightroom, Photoshop) to become a usable image, but offers maximum flexibility for adjusting exposure, white balance, and colors without degradation.
For professional work where image quality and post-processing control are paramount, shooting in RAW is the standard. JPEGs are suitable for quick sharing or when storage space is a critical concern and minimal editing is anticipated.
Establishing a Consistent Workflow
Developing a systematic approach to camera settings before and during a shoot ensures consistency and efficiency:
- Assess Lighting Conditions: Determine the dominant light source, its intensity, and direction.
- Set ISO: Choose the lowest possible ISO for the given light to minimize noise.
- Determine Aperture: Select based on desired depth of field (subject isolation vs. overall sharpness).
- Adjust Shutter Speed: Set to achieve proper exposure while managing motion (freezing vs. blurring) and preventing camera shake.
- Refine White Balance: Use a preset or custom white balance for accurate colors.
- Select Focus Mode and Points: Match to subject movement and composition.
- Choose Metering Mode: Tailor to the scene's contrast and subject's importance.
- Review and Adjust: Take a test shot, review the histogram and image on your LCD, and make necessary tweaks.
Refining Your Visual Output
Consistent, high-quality photography is not about finding a single "best" setting, but about understanding the interplay of each control and making informed decisions based on your creative intent and environmental conditions. Practice regularly, experiment with different settings, and critically evaluate your results. Pay attention to how changes in one setting necessitate adjustments in others. The goal is to move beyond automatic modes and gain precise control over every aspect of your image, ensuring your visual content consistently meets professional standards for clarity, color, and impact.
Frequently Asked Questions
What is the ideal aperture for portraits?
For single-subject portraits, an aperture between f/1.8 and f/4 is often preferred to create a shallow depth of field, blurring the background and making the subject stand out. For group portraits, f/5.6 to f/8 ensures more subjects remain in focus.
When should I use a fast shutter speed?
Use a fast shutter speed (e.g., 1/250s or faster) when photographing moving subjects, such as sports, children, or pets, to freeze their action and prevent motion blur. It's also useful in bright conditions to maintain a wide aperture.
How can I reduce noise in my photos?
To reduce noise, always try to use the lowest possible ISO setting. Increase available light (e.g., by using a wider aperture or external lighting) before resorting to higher ISOs. Proper exposure also minimizes the need for aggressive post-processing that can exacerbate noise.
Should I always shoot in RAW?
For professional work, commercial photography, or any situation where maximum image quality and post-processing flexibility are critical, shooting in RAW is highly recommended. If storage space is limited, or images need to be shared immediately with minimal editing, JPEG can be a practical alternative.