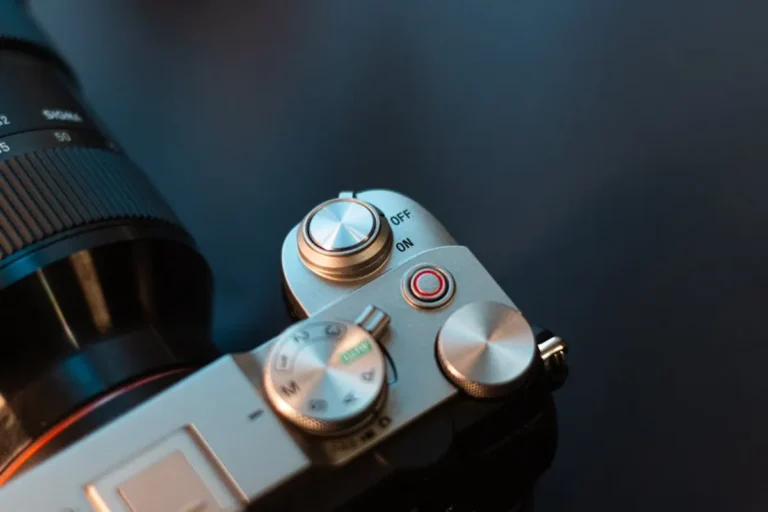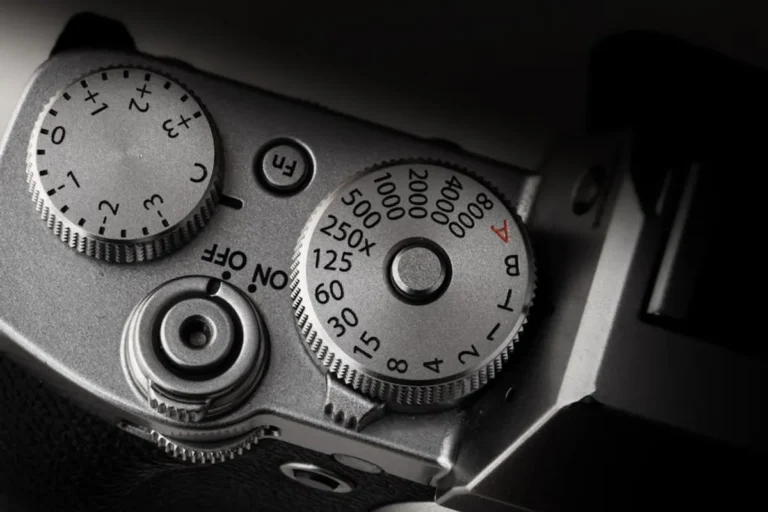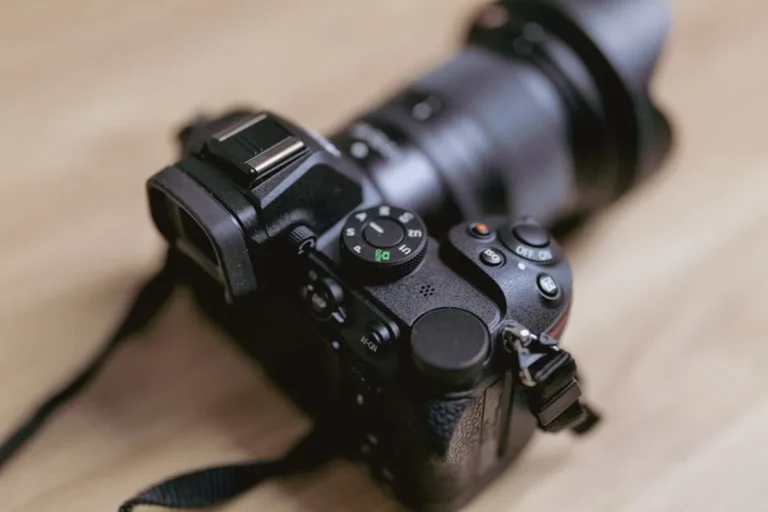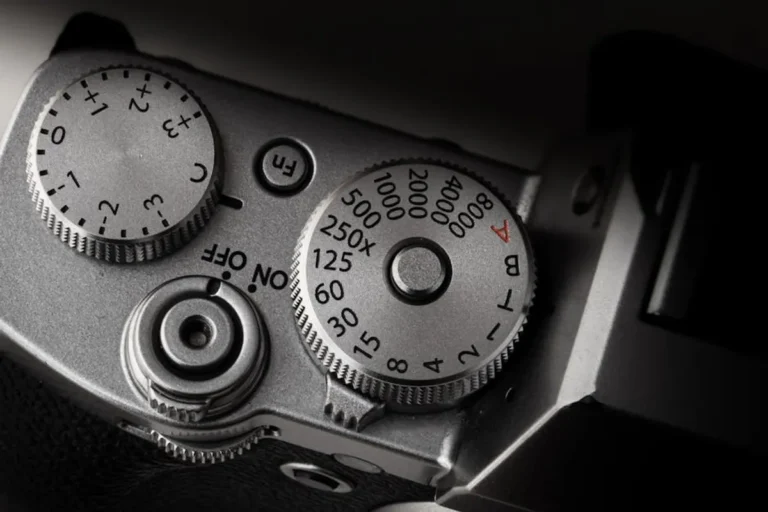
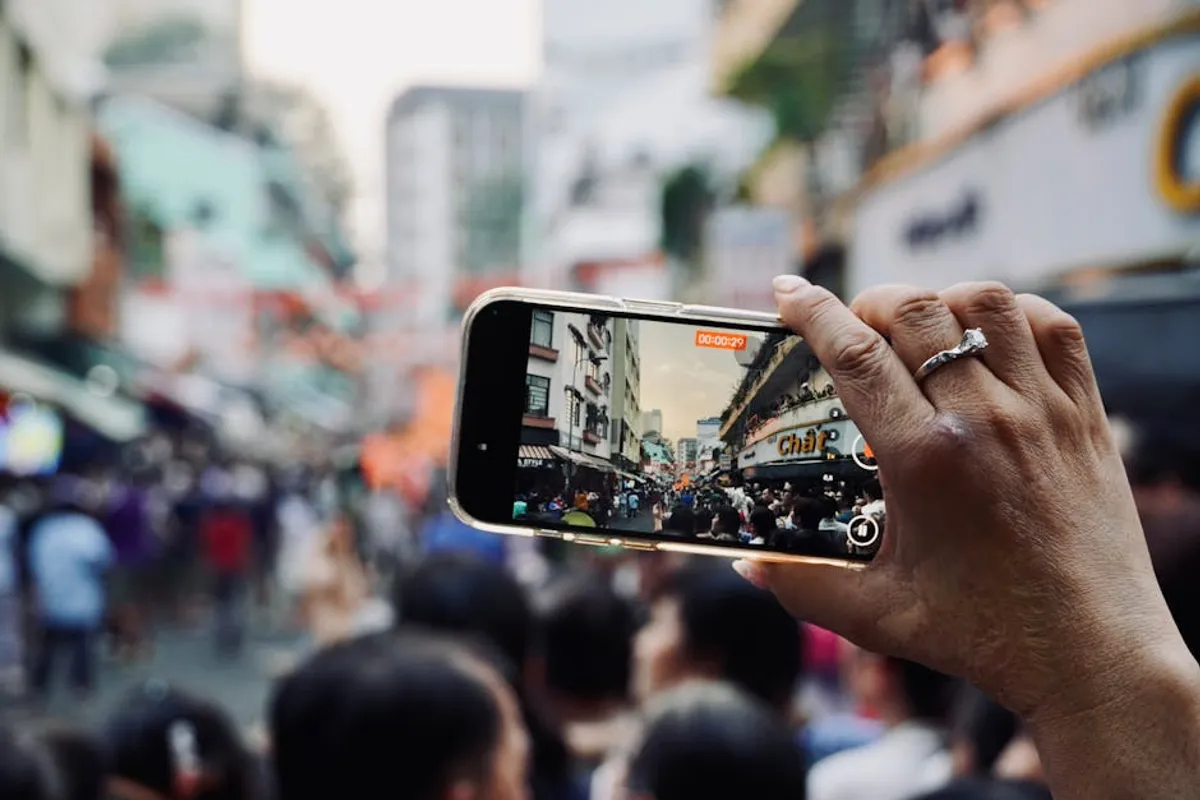
Approaching street photography effectively requires more than just a camera; it demands a nuanced understanding of public interaction, technical control, and visual storytelling. The goal is to capture authentic moments that reflect the human condition or the dynamic urban environment, without resorting to staged scenes or disruptive behavior. This practice is not merely about documenting; it's about interpreting and presenting observations in a compelling visual narrative. Achieving consistently strong results hinges on integrating ethical considerations with precise technical execution and a developed compositional eye. Achieving consistently strong results hinges on integrating ethical considerations with precise technical execution and a solid grasp of various street photography tips.
Ethical Foundations and Public Interaction
Successful street photography begins with a strong ethical framework. Operating in public spaces means respecting individual privacy and comfort, even when legal rights permit photography. The aim is to observe and capture, not to intrude or provoke. This often involves maintaining a low profile and understanding body language. Operating in public spaces means respecting individual privacy and comfort, even when legal rights permit photography, which is one of the key street photography mistakes to avoid.
- Discretion and Respect: Prioritize unobtrusive methods. Use a smaller camera, avoid direct eye contact until after the shot, and blend into the environment. If confronted, be polite, explain your intentions (e.g., "I'm a photographer documenting city life"), and offer to delete the image if requested.
- Awareness of Context: Understand that certain situations or locations may be more sensitive. Photographing children, vulnerable individuals, or private moments requires heightened discretion. Always err on the side of caution and respect.
- Legal vs. Ethical: While many public spaces allow photography, ethical considerations extend beyond legal boundaries. A legally permissible photo might still be ethically questionable if it exploits or misrepresents a subject.
Pro Tip: Develop a "street photographer's mindset" by practicing observation without judgment. This helps in anticipating moments and reacting quickly, allowing you to capture genuine interactions rather than staged ones, minimizing the need for direct engagement with subjects.
Technical Mastery for Spontaneity
The unpredictable nature of street photography demands technical settings that allow for rapid response and adaptability. Pre-setting your camera reduces the time spent fiddling with dials, letting you focus on composition and timing.
Camera Settings for Dynamic Environments
Aperture Priority (Av/A mode): This mode allows you to control depth of field, often critical for isolating subjects or maintaining environmental context, while the camera selects the appropriate shutter speed. A wider aperture (e.g., f/2.8 to f/5.6) is often preferred for subject isolation and low-light conditions.
Shutter Priority (Tv/S mode): Useful when motion blur or freezing action is paramount. For freezing most street action, a shutter speed of 1/250s or faster is typically effective. For intentional motion blur, experiment with speeds like 1/30s to 1/125s.
Manual Mode (M): For experienced photographers, manual mode offers complete control. Pre-setting aperture and shutter speed based on ambient light, then adjusting ISO as needed, allows for quick, consistent exposures. Often, photographers will set a base ISO and then use auto-ISO with a maximum limit.
Autofocus: Continuous AF (AI Servo/AF-C) with a single-point focus mode can track moving subjects effectively. Alternatively, zone focusing (pre-focusing to a specific distance and using a narrower aperture for extended depth of field) allows for extremely fast, decisive shooting without relying on autofocus.
ISO: Keep ISO as low as possible to minimize noise, but be prepared to raise it in low-light situations. Modern cameras handle ISO 1600-3200 with acceptable noise levels.
White Balance: Auto white balance is generally reliable for street photography, though custom presets can be used if specific color temperatures are desired (e.g., for warmer evening light).
Lens Selection and Focal Length
Prime Lenses (e.g., 35mm, 50mm): These lenses are often preferred for their faster apertures, lighter weight, and optical quality. A 35mm equivalent focal length provides a natural perspective, close to human vision, making it versatile for both environmental portraits and wider street scenes. A 50mm equivalent offers slightly more compression and subject isolation.
Zoom Lenses (e.g., 24-70mm): While offering flexibility, zoom lenses can be heavier and slower. They are useful for adapting to varied distances without changing position, which can be advantageous in crowded or restricted areas.
Compositional Techniques for Impact
Beyond technical settings, strong composition transforms a simple snapshot into a compelling image. Street photography often relies on quick decisions and an intuitive understanding of visual weight and balance.
Elements of Visual Storytelling
Rule of Thirds: Placing subjects or key elements along the intersecting lines or at the points of intersection creates more dynamic and balanced compositions than simply centering the subject.
Leading Lines: Utilize architectural elements, shadows, or paths to draw the viewer's eye through the frame, guiding them to the main subject or creating depth.
Framing: Use natural elements like doorways, windows, or even shadows to frame your subject, adding context and depth while directing attention.
Layering: Look for opportunities to include elements in the foreground, midground, and background. This adds complexity and a sense of depth, making the scene feel more immersive.
Anticipation: Develop the ability to predict human behavior and movement. Position yourself to capture the peak of an action or a decisive moment, such as a gesture, interaction, or expression.
Light and Shadow: Pay close attention to how light shapes the scene. Strong directional light can create dramatic shadows and highlights, adding texture and mood. Backlighting can produce silhouettes, emphasizing form and mystery.
Post-Processing for Refinement
Post-processing is an integral part of the street photography workflow, allowing for refinement and enhancing the mood of an image. It's about bringing out the best in your capture, not creating something that wasn't there.
Global Adjustments: Start with essential adjustments like exposure, contrast, highlights, and shadows to optimize the overall tonal range.
Cropping and Straightening: Refine your composition and ensure horizons or vertical lines are straight.
Color vs. Black and White: Many street photographers prefer black and white for its ability to emphasize form, texture, and emotion, stripping away the distraction of color. If working in color, focus on subtle adjustments to saturation and vibrance to maintain a natural look.
Clarity and Texture: Use clarity and dehaze tools sparingly to add punch to details without over-sharpening.
Noise Reduction: Apply noise reduction as needed, especially for images shot at higher ISOs, balancing noise reduction with detail preservation.
Sustaining Your Practice
Consistency and persistence are key in street photography. The best images often come from repeated efforts and a willingness to embrace imperfection.
Regular Practice: Dedicate specific time slots for shooting, even if it's just an hour. The more you shoot, the more intuitive the process becomes.
Review and Critique: Regularly review your work. Identify what succeeded and what could be improved. Seek constructive feedback from peers or mentors.
Embrace Failure: Not every outing will yield a masterpiece. Learn from your less successful attempts and use them as stepping stones for future improvement.
Develop a Project Mindset: Instead of just random shots, consider working on mini-projects (e.g., "commuters," "street vendors," "city reflections"). This gives direction and thematic coherence to your work.
Frequently Asked Questions
What is the ideal camera for street photography?
There isn't a single "ideal" camera; the best camera is often the one you have with you and are comfortable using. Many prefer mirrorless cameras for their compact size and quiet operation, or rangefinders for their discreet nature. Key features to prioritize include fast autofocus, good low-light performance, and a durable, relatively small body.
Is it legal to photograph people in public?
In most countries, including the U.S., it is generally legal to photograph people in public spaces where there is no reasonable expectation of privacy. However, laws vary by region, and ethical considerations often extend beyond legal rights. Always be aware of your local laws and prioritize respectful conduct.
How can I overcome the fear of photographing strangers?
Start small: begin by photographing from a distance, focusing on environmental shots, or capturing people from behind. Gradually move closer as your confidence grows. Pre-focusing and shooting from the hip can also reduce direct interaction. Remember that most people are indifferent or simply curious, not hostile. The more you do it, the easier it becomes.
Should I shoot in color or black and white?
This is a stylistic choice. Black and white often emphasizes form, texture, and emotion, stripping away color distractions to focus on the core elements of the scene. Color can add vibrancy, convey mood, or highlight specific details. Experiment with both to see which best suits your vision and the story you want to tell with each image.