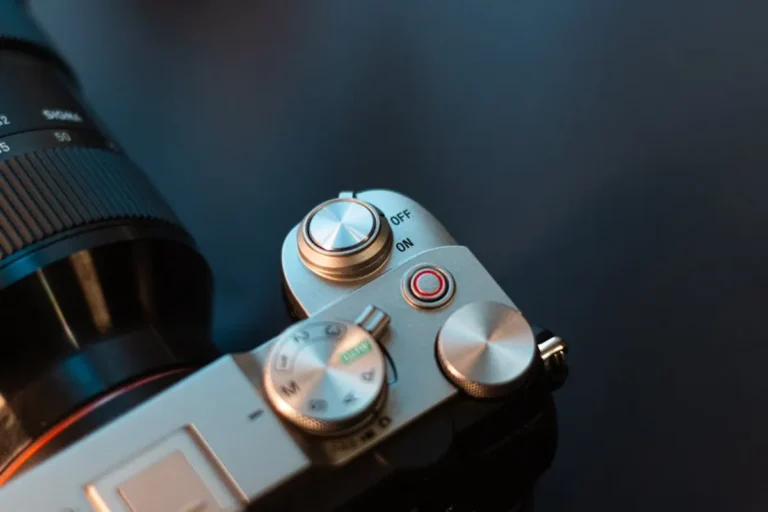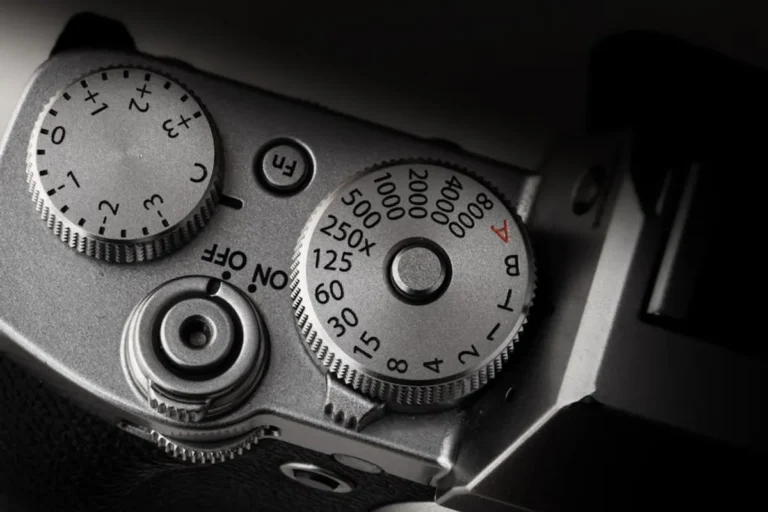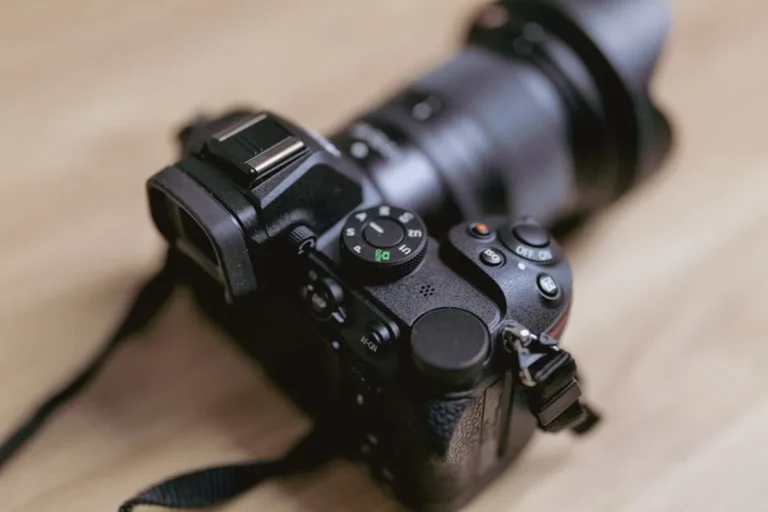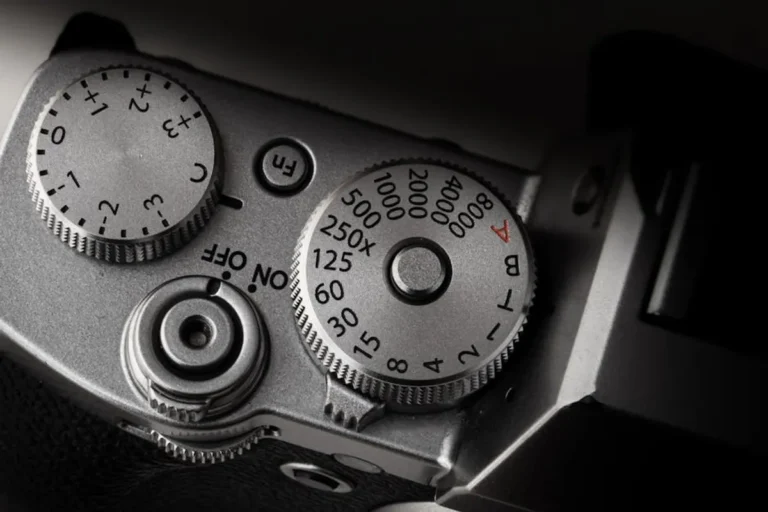
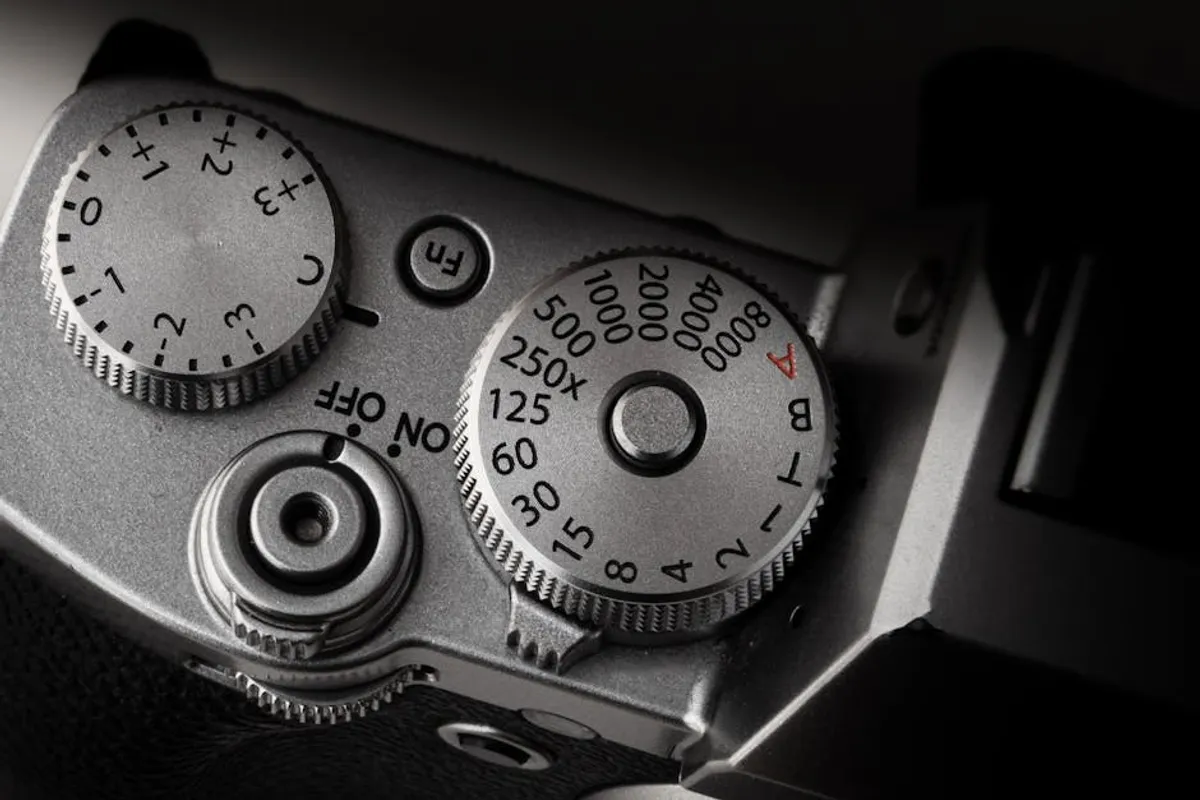
Understanding camera settings is fundamental for any photographer aiming for consistent, high-quality results. For commercial projects, this mastery translates directly into meeting client expectations, enhancing visual storytelling, and ensuring images are technically sound for various applications, from print advertisements to web campaigns. The interplay of aperture, shutter speed, and ISO dictates exposure, depth of field, and motion rendition. Each setting contributes uniquely to the final image, and knowing how to manipulate them allows for precise control over the aesthetic and functional aspects of your photography.
Core Exposure Controls and Their Impact
Before diving into specific scenarios, a brief review of the three primary exposure controls clarifies their individual roles and collective influence on an image:
- Aperture (f-stop): Controls the size of the lens opening, regulating the amount of light reaching the sensor. A wider aperture (smaller f-number like f/1.8) allows more light and creates a shallower depth of field, blurring backgrounds. A narrower aperture (larger f-number like f/16) lets in less light, resulting in a deeper depth of field where more of the scene appears in focus.
- Shutter Speed: Determines the duration the camera's shutter remains open, controlling how long light exposes the sensor. Fast shutter speeds (e.g., 1/1000 second) freeze motion, while slow shutter speeds (e.g., 1/30 second or longer) introduce motion blur, often used creatively or in low light.
- ISO: Represents the sensor's sensitivity to light. Lower ISO values (e.g., ISO 100-400) produce cleaner images with less digital noise, ideal in bright conditions. Higher ISO values (e.g., ISO 1600-6400) increase sensitivity for low-light situations but can introduce noticeable image grain or noise.
Effective photography involves balancing these three settings to achieve the desired exposure and creative effect for each unique photographic opportunity.
Camera Settings Examples for Specific Scenarios
Portrait Photography: Isolating the Subject
The goal in portraiture is often to draw attention to the subject, typically by blurring the background. This requires a shallow depth of field.
Typical Settings:
- Aperture: f/1.8 to f/4.0. This wide aperture creates a pleasing background blur (bokeh) and separates the subject from distractions. The exact f-stop depends on the lens's maximum aperture and the desired blur intensity.
- Shutter Speed: 1/125 to 1/250 second. This speed is generally fast enough to prevent camera shake and freeze minor subject movements, ensuring sharp focus on the eyes. Adjust based on available light and subject motion.
- ISO: 100 to 400. Keep ISO as low as possible to maintain image quality, especially for client deliverables where clean, noise-free files are critical. Increase only if necessary to achieve adequate exposure with desired aperture and shutter speed.
Commercial Application: Professional headshots, lifestyle photography, brand campaigns featuring individuals. The crisp focus on the subject and smooth background contribute to a polished, high-end look.
Landscape Photography: Maximizing Depth of Field
Landscape photographers typically aim for sharpness from the foreground to the horizon, requiring a deep depth of field.
Typical Settings:
- Aperture: f/8.0 to f/16. These narrower apertures ensure a large portion of the scene remains in sharp focus. Using apertures beyond f/16 can sometimes introduce diffraction, slightly softening the image, so f/8 to f/11 is often preferred for optimal sharpness.
- Shutter Speed: Variable, often 1/30 second to several seconds. Since a tripod is commonly used in landscape photography, slower shutter speeds are acceptable to achieve correct exposure at lower ISOs. For moving elements like water, a longer exposure creates a silky effect.
- ISO: 100 to 200. Always use the lowest possible ISO to minimize noise and maximize dynamic range, which is crucial for capturing detail in both highlights and shadows of a wide landscape.
Commercial Application: Travel photography, real estate, environmental portraits, advertising for outdoor gear. Images require extensive detail and clarity across the entire frame.
Action/Sports Photography: Freezing Motion
Capturing fast-moving subjects without blur is paramount in action and sports photography.
Typical Settings:
- Aperture: f/2.8 to f/5.6. A wider aperture is often necessary to gather enough light for very fast shutter speeds, while still providing some depth of field for moving subjects.
- Shutter Speed: 1/500 to 1/2000 second or faster. The specific speed depends on the subject's velocity. A runner might require 1/500s, while a race car could demand 1/2000s or more to completely freeze motion.
- ISO: 400 to 3200+. Higher ISO settings are frequently required to compensate for the fast shutter speeds and potentially lower light conditions (e.g., indoor arenas, twilight sports). Managing noise becomes a secondary concern to freezing the action.
Commercial Application: Sports media, event coverage, advertising for athletic brands. The ability to capture peak action moments sharply is non-negotiable.
Low Light/Night Photography: Managing Exposure and Noise
Photographing in minimal light presents challenges in achieving adequate exposure without excessive noise or blur.
Typical Settings:
- Aperture: f/2.8 to f/4.0. Use the widest aperture your lens allows to gather as much light as possible.
- Shutter Speed: 15 to 30 seconds (for static scenes like astrophotography or cityscapes on a tripod). For handheld shots, the slowest possible speed without introducing camera shake (e.g., 1/30s to 1/60s, depending on lens stabilization and focal length).
- ISO: 1600 to 6400+. High ISO is often unavoidable. The goal is to find the highest ISO that yields an acceptable level of noise for the specific output (e.g., web vs. large print).
Pro Tip: When shooting in low light, especially with long exposures, always use a sturdy tripod and a remote shutter release or the camera's 2-second timer. This eliminates camera shake that can ruin an otherwise perfectly exposed image, ensuring professional-grade sharpness even in challenging conditions.
Commercial Application: Event photography, architectural night shots, astrophotography for educational or tourism purposes. Delivering clear images in dim environments expands service offerings.
Product Photography: Precision and Consistency
Product photography demands meticulous control over lighting and focus to showcase items accurately and appealingly.
Typical Settings:
- Aperture: f/8.0 to f/16. A narrow aperture ensures the entire product, from front to back, is in sharp focus. This is particularly important for products with depth or intricate details.
- Shutter Speed: 1/60 to 1/125 second. With controlled studio lighting (strobes or continuous lights), shutter speed primarily controls ambient light, while flash duration controls the exposure. This range is usually sufficient to avoid camera shake.
- ISO: 100 to 200. Always use the base ISO for the camera to achieve the cleanest, most detailed images. Studio lighting removes the need for higher ISOs.
Commercial Application: E-commerce product listings, catalog photography, advertising materials. Consistent sharpness, accurate colors, and minimal noise are critical for sales and brand perception.
Applying Settings for Commercial Impact
Mastering these camera settings is not merely about technical proficiency; it's about delivering specific visual outcomes that align with commercial objectives. For a marketing agency, this means producing images that convert, tell a brand story effectively, and maintain a consistent visual identity across campaigns. For a business owner, it means having compelling visuals for their products or services that stand out in a competitive marketplace. Practice with these examples, experiment with your gear, and critically evaluate the results to refine your approach for every client and project.
Frequently Asked Questions
What is the "exposure triangle"?
The exposure triangle refers to the interdependent relationship between aperture, shutter speed, and ISO. Adjusting one setting requires adjusting one or both of the others to maintain correct exposure. For example, increasing shutter speed (to freeze motion) will require widening the aperture or increasing ISO to compensate for less light.
When should I use Aperture Priority mode?
Aperture Priority (Av or A) mode is useful when depth of field is your primary creative control, such as in portraiture (shallow DoF) or landscape photography (deep DoF). You set the aperture, and the camera automatically selects the appropriate shutter speed for correct exposure.
How can I minimize noise in low-light photos?
To minimize noise, always use the lowest possible ISO that allows for a usable shutter speed and aperture. Use the widest aperture your lens offers (smallest f-number), a tripod for slower shutter speeds, and consider supplemental lighting if feasible. Post-processing software can also reduce noise, but it's best to get it right in-camera.
What are good starting settings for general outdoor photography?
For bright outdoor conditions, a good starting point is ISO 100 or 200, an aperture of f/8 (for a balanced depth of field), and a shutter speed of 1/250 second. Adjust the shutter speed as needed to achieve correct exposure, or switch to Aperture Priority mode and let the camera determine the shutter speed.