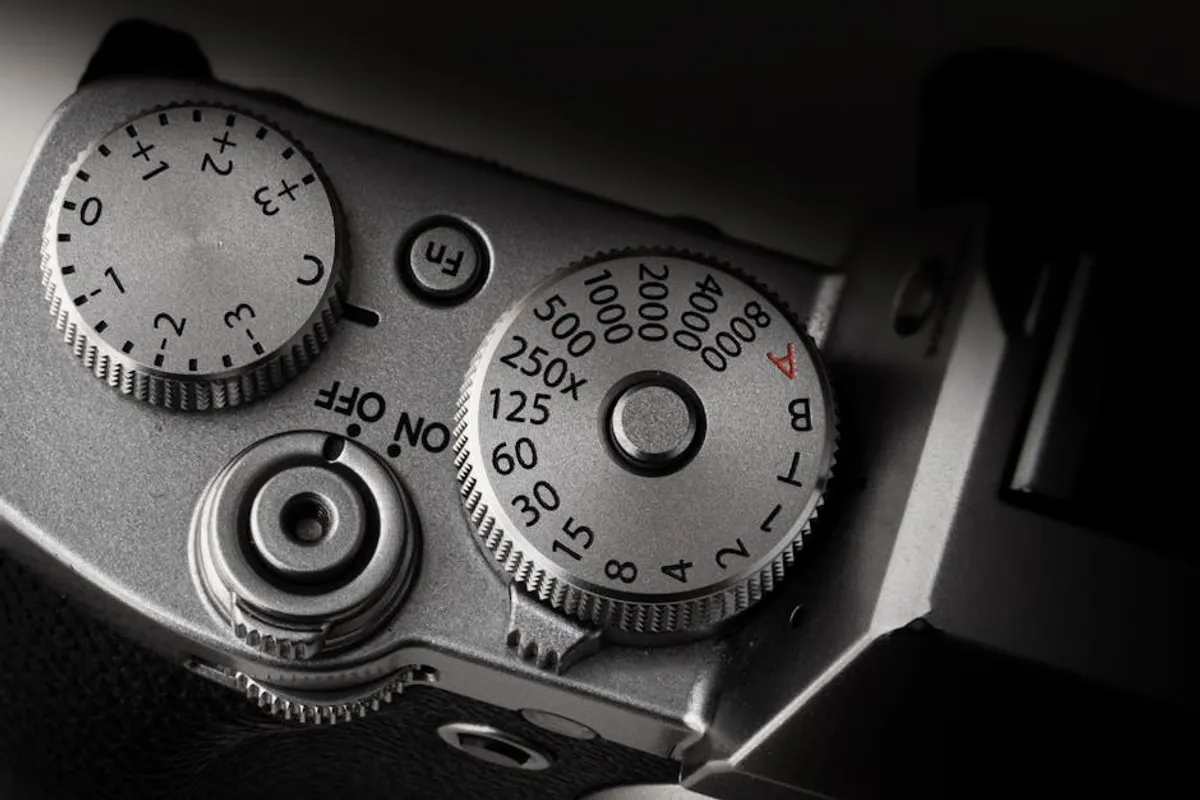
Moving beyond a camera’s automatic settings is a pivotal step for any photographer aiming to control their image output. While auto modes offer convenience, they often limit creative expression by making generalized exposure decisions. Understanding manual camera settings allows for precise control over light, motion, and depth of field, enabling photographers to achieve specific artistic and technical outcomes that differentiate their work.
Understanding the Exposure Triangle
The foundation of manual photography rests on the "exposure triangle," comprising ISO, aperture, and shutter speed. Each setting directly influences the amount of light reaching the camera's sensor and, consequently, the final image's brightness and characteristics. Adjusting one often necessitates adjusting another to maintain balanced exposure, creating a dynamic interplay that defines photographic control.
Controlling Light and Motion: Shutter Speed
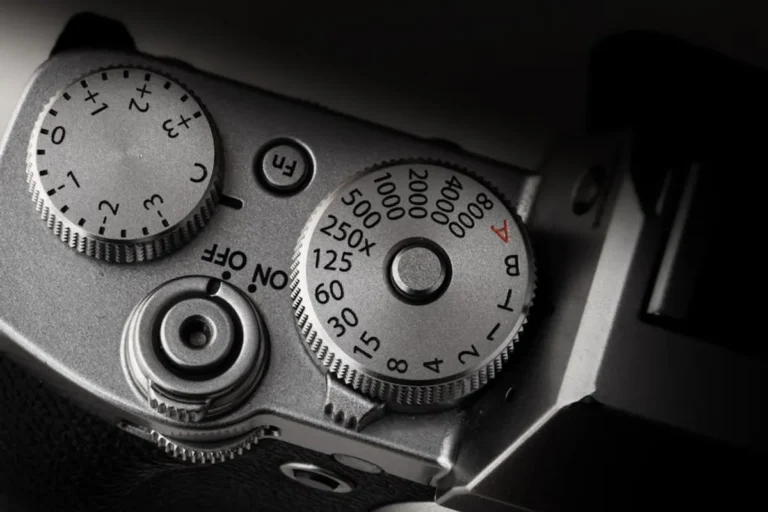
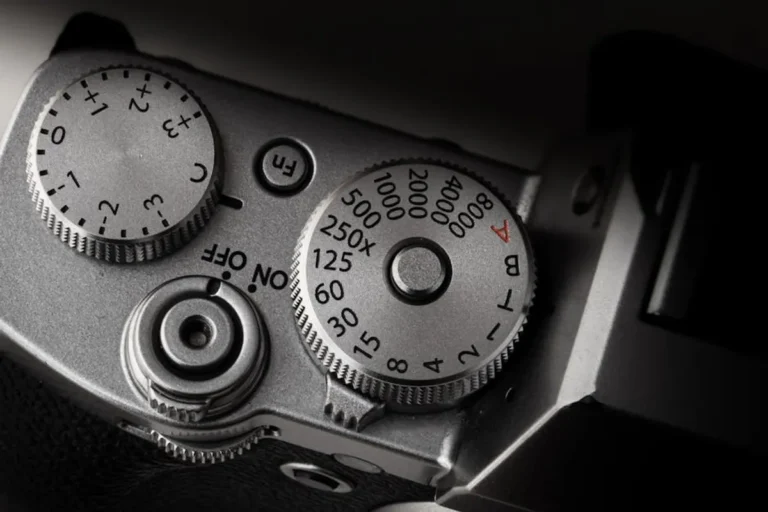
Shutter speed dictates the duration the camera's sensor is exposed to light. Measured in fractions of a second (e.g., 1/250s, 1/30s) or full seconds, it directly impacts how motion is rendered in an image.
- Fast Shutter Speeds (e.g., 1/500s and faster): These freeze motion, ideal for sports, wildlife, or capturing sharp images of moving subjects. A faster shutter speed reduces the light reaching the sensor, often requiring a wider aperture or higher ISO to compensate for exposure.
- Slow Shutter Speeds (e.g., 1/30s and slower): These introduce motion blur, useful for conveying movement in waterfalls, light trails, or panning shots. Slower speeds allow more light, often necessitating a narrower aperture or lower ISO to prevent overexposure, and typically require a tripod to prevent camera shake.
Practical Application: For capturing a sharp image of a child running, prioritize a shutter speed of 1/250s or faster. For a silky waterfall effect, start at 1/2s or longer, using a tripod.
Managing Depth and Focus: Aperture
Aperture refers to the size of the opening in the lens that allows light to pass through to the sensor. It is measured in f-stops (e.g., f/2.8, f/8, f/16). A smaller f-number indicates a wider aperture opening, while a larger f-number indicates a narrower opening.
- Wide Aperture (Smaller f-number, e.g., f/1.8, f/2.8): Lets in more light and creates a shallow depth of field, where the subject is sharp and the background is blurred (bokeh). This is effective for portraits or isolating subjects.
- Narrow Aperture (Larger f-number, e.g., f/11, f/16): Lets in less light and creates a deep depth of field, keeping more of the scene in focus from foreground to background. This is suitable for landscapes or group photos.
Commercial Relevance: Product photographers often use wide apertures to isolate a product against a soft background, drawing immediate attention to the item. Landscape photographers use narrow apertures to ensure all elements of a scene, from a nearby flower to a distant mountain, remain sharp.
Light Sensitivity and Image Noise: ISO
ISO measures the camera sensor's sensitivity to light. A lower ISO (e.g., 100, 200) indicates less sensitivity, requiring more light for proper exposure but producing cleaner images with minimal digital noise. A higher ISO (e.g., 1600, 3200) increases sensitivity, useful in low-light conditions but introduces more digital noise, which manifests as graininess or speckling in the image.
When to Adjust ISO:
- Low ISO (100-400): Use in bright conditions or when ample light is available, such as outdoors during the day or in a well-lit studio, to achieve the highest image quality.
- Mid ISO (400-1600): Suitable for indoor photography with natural light or overcast outdoor conditions where some light assistance is needed without excessive noise.
- High ISO (1600+): Reserved for very low-light scenarios, like night photography or dimly lit interiors, where maintaining a fast enough shutter speed or desired aperture is critical, and some noise is acceptable.
Pro Tip: Always prioritize the lowest possible ISO setting that still allows for a properly exposed image with your desired aperture and shutter speed. High ISO is a compromise; use it only when necessary to capture the shot.
Beyond the Core: Essential Secondary Settings
While the exposure triangle forms the bedrock, other settings refine image quality and creative control.
White Balance for Accurate Color
White balance adjusts the color temperature of your image, ensuring that white objects appear truly white, regardless of the ambient light source. Different light sources (e.g., sunlight, fluorescent, tungsten) emit light at different color temperatures. Cameras offer presets (e.g., Daylight, Cloudy, Tungsten, Fluorescent) and custom white balance options to neutralize color casts. Incorrect white balance can lead to images appearing too warm (orange/yellow) or too cool (blue).
Focus Modes for Precision
Selecting the appropriate focus mode ensures your subject is sharp.
- Single-Shot AF (AF-S/One-Shot AF): Locks focus once the shutter button is half-pressed. Ideal for stationary subjects like landscapes or still portraits.
- Continuous AF (AF-C/AI Servo AF): Continuously adjusts focus as the subject moves, as long as the shutter button is half-pressed. Essential for tracking moving subjects in sports or wildlife photography.
- Manual Focus (MF): Allows you to adjust focus manually via the lens ring. Useful for precise control in macro photography, low light, or when autofocus struggles.
Metering Modes for Exposure Evaluation
Metering modes determine how the camera measures the light in a scene to calculate the correct exposure.
- Evaluative/Matrix Metering: Analyzes the entire scene, considering brightness, subject distance, and color, and attempts to produce a balanced exposure. This is the default and most versatile mode for general photography.
- Center-Weighted Metering: Primarily measures light from the center of the frame, with some consideration for the surrounding areas. Useful for portraits where the subject is typically in the center.
- Spot Metering: Measures light from a very small, specific area (typically 1-5% of the frame). Ideal for high-contrast scenes or when you need precise exposure for a small, critical part of your subject, such as a face in harsh backlight.
Applying Settings in Practice
Mastering camera settings involves understanding their individual functions and their combined impact. Instead of always shooting in full manual mode, beginners can leverage semi-automatic modes to gradually gain control:
- Aperture Priority (Av/A): You set the aperture, and the camera automatically selects the shutter speed for correct exposure. Ideal for controlling depth of field (portraits, landscapes).
- Shutter Priority (Tv/S): You set the shutter speed, and the camera automatically selects the aperture. Ideal for controlling motion (sports, freezing action).
These modes allow you to focus on one key setting's creative impact while the camera manages the exposure balance. As confidence grows, transitioning to full manual (M) mode provides complete creative command.
Refining Your Approach
Consistent practice is the most effective way to internalize these concepts. Experiment with each setting individually, observing its effect on the image. Review your results on a larger screen to discern subtle differences in depth of field, motion blur, and noise levels. Over time, adjusting camera settings will become intuitive, allowing you to react quickly to changing photographic conditions and achieve your desired visual outcomes with precision.
Common Questions
What is the best camera setting for beginners?
There isn't one "best" setting; it depends on the subject and desired outcome. For learning, start with Aperture Priority (Av/A) to understand depth of field, then Shutter Priority (Tv/S) to grasp motion control. This allows you to focus on one variable at a time.
How do I make the background blurry in photos?
To achieve a blurry background (shallow depth of field), use a wide aperture (smaller f-number, e.g., f/1.8, f/2.8). Also, position your subject farther from the background and closer to the camera, and use a longer focal length lens if available.
When should I use a high ISO?
Use a high ISO when shooting in low-light conditions where you cannot use a flash, or when you need a fast shutter speed to freeze motion but lack sufficient ambient light. Always aim for the lowest ISO possible to minimize image noise.
What is the difference between shutter speed and aperture?
Shutter speed controls the duration of light exposure and dictates how motion is captured (frozen or blurred). Aperture controls the size of the lens opening, influencing the amount of light and the depth of field (how much of the image is in focus).