Understanding camera settings moves beyond hobbyist interest into a crucial skill for anyone producing visual content for commercial purposes. For marketers, e-commerce managers, and content creators, the ability to control a camera's output directly impacts brand perception, product appeal, and ultimately, conversion rates. Generic auto modes often fall short in delivering the precise aesthetic and technical quality required for professional use. Mastering aperture, shutter speed, and ISO allows for deliberate creative choices that enhance visual storytelling, ensure product accuracy, and maintain a consistent brand image across all platforms. For those new to photography, this guide offers a clear path for beginners to master camera settings and elevate their visual content.
Core Camera Settings Explained for Commercial Impact
The foundation of effective photography lies in the exposure triangle: aperture, shutter speed, and ISO. Each setting controls a different aspect of light capture and image rendering, and understanding their interplay is essential for predictable, high-quality results.
Aperture: Controlling Depth and Focus
Aperture refers to the opening within the lens that controls the amount of light reaching the camera sensor. Measured in f-stops (e.g., f/2.8, f/8, f/16), a smaller f-number indicates a wider opening, letting in more light and producing a shallower depth of field (more background blur). A larger f-number signifies a narrower opening, allowing less light and creating a deeper depth of field (more elements in focus).
- Wide Aperture (small f-number, e.g., f/1.8 - f/4): Ideal for isolating subjects, such as product shots where the background needs to be soft and unobtrusive, or portraits where the subject should stand out sharply from a blurred environment. This creates a professional, high-end look.
- Narrow Aperture (large f-number, e.g., f/8 - f/16): Essential for landscapes, architectural photography, or group shots where maximum sharpness from foreground to background is required. For e-commerce product photography featuring multiple items or detailed textures, an f/8 or f/11 often ensures the entire product is in crisp focus.
Shutter Speed: Managing Motion and Light
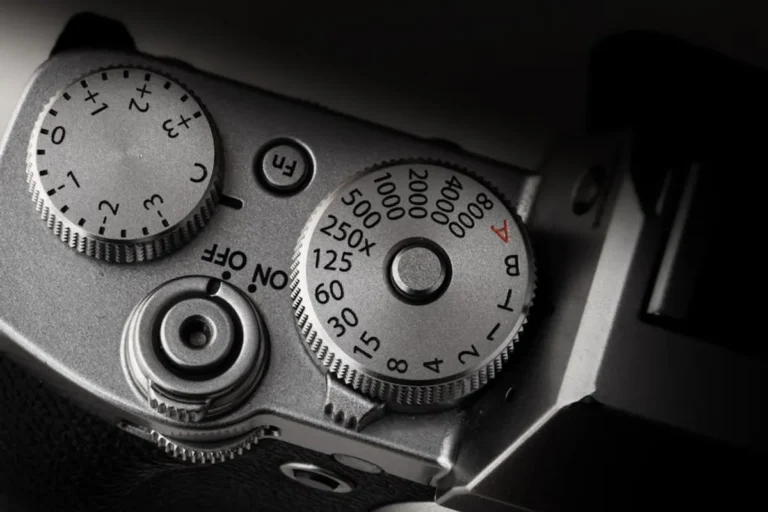
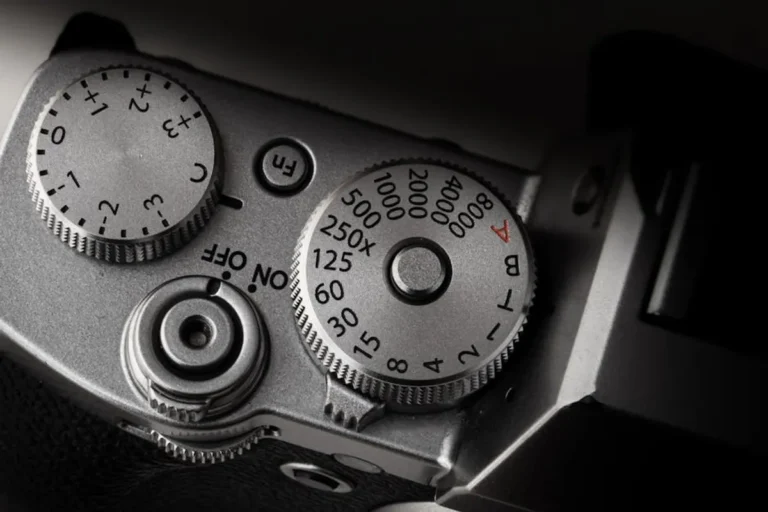
Shutter speed dictates the duration the camera's sensor is exposed to light. Measured in fractions of a second (e.g., 1/1000s, 1/60s, 2s), it directly impacts how motion is captured and the overall brightness of the image.
- Fast Shutter Speed (e.g., 1/500s or faster): Freezes motion, crucial for capturing fast-moving subjects like sports, action shots, or even product demonstrations where movement needs to be crisp. It also minimizes camera shake when shooting handheld.
- Slow Shutter Speed (e.g., 1/30s or slower): Creates motion blur, useful for artistic effects like smoothing water or conveying movement in a dynamic scene. For low-light conditions, a slower shutter speed allows more light to reach the sensor, but necessitates a tripod to prevent unwanted blur from camera movement.
ISO: Light Sensitivity and Image Noise
ISO measures the camera sensor's sensitivity to light. A lower ISO (e.g., 100, 200) indicates less sensitivity, producing cleaner images with minimal digital noise. A higher ISO (e.g., 800, 1600, 3200) increases sensitivity, making the sensor more responsive in low-light conditions but introducing visible grain or "noise" into the image.
Best for:
- Low ISO (100-400): Optimal for well-lit environments, studio product photography, or outdoor shoots in bright conditions. This ensures the highest image quality with the least amount of noise, critical for high-resolution marketing materials.
- High ISO (800+): Necessary for dimly lit scenes where a tripod isn't feasible or motion needs to be frozen. While it introduces noise, modern cameras manage this better, making higher ISOs usable for capturing events or interiors without flash.
Achieving Accurate Color and Exposure
Beyond the exposure triangle, white balance and exposure compensation are pivotal for maintaining color accuracy and consistent brightness, especially vital for commercial photography where product representation must be precise.
White Balance: Ensuring True Colors
White balance corrects color casts caused by different light sources, ensuring that white objects appear truly white and other colors are rendered accurately. Light sources like tungsten bulbs, fluorescent lights, or natural daylight each have distinct color temperatures, which can make photos appear too warm (orange) or too cool (blue).
Cameras offer various white balance presets (Daylight, Cloudy, Tungsten, Fluorescent, Flash) and a custom setting. For commercial work, particularly product photography, using a custom white balance by photographing a gray card under the actual lighting conditions is paramount. This guarantees consistent color reproduction across all product shots, preventing customer disappointment due to misrepresented colors.
Exposure Compensation: Fine-Tuning Brightness
Exposure compensation allows you to override the camera's automatic exposure metering, making the image brighter or darker than the camera's default suggestion. This is invaluable in challenging lighting situations where the camera's meter might be fooled, such as a bright white product against a dark background, or a dark product against a bright background.
Pro Tip: For e-commerce product photography, always use a consistent white balance setting across all images to maintain brand color accuracy and prevent customer confusion. Invest in a gray card for precise custom white balance calibration.
Optimizing Settings for Specific Scenarios
Tailoring camera settings to the specific photographic task ensures optimal results for commercial applications.
Product Photography
The goal is sharp detail, accurate color, and consistent lighting.
Settings Focus:
- Aperture: f/8 to f/16 for maximum depth of field, ensuring the entire product is in focus.
- ISO: 100 or 200 for minimal noise and maximum clarity.
- Shutter Speed: Adjusted to achieve correct exposure, typically slower (e.g., 1/60s to 1/2s) when using a tripod and controlled lighting.
- White Balance: Custom white balance using a gray card for precise color rendition.
Portrait Photography
Emphasizes the subject with a pleasing background blur.
Settings Focus:
- Aperture: f/1.8 to f/4 for a shallow depth of field, blurring the background to make the subject stand out.
- ISO: Keep as low as possible (e.g., 100-400) to maintain skin tone quality and reduce noise.
- Shutter Speed: Fast enough to prevent camera shake (e.g., 1/125s or faster) and freeze any subtle movements of the subject.
- White Balance: Often set to "Daylight" or "Cloudy" for natural skin tones, or custom for studio setups.
Low-Light Photography
Capturing images in dim conditions while minimizing noise.
Settings Focus:
- Aperture: As wide as your lens allows (smallest f-number) to gather maximum light.
- ISO: Increased to 800-3200 or higher, balancing light capture with acceptable noise levels.
- Shutter Speed: Slower (e.g., 1/30s to several seconds) to allow more light, requiring a tripod to avoid blur. For handheld, aim for 1/60s or faster, increasing ISO further if necessary.
- White Balance: "Tungsten" or "Fluorescent" presets, or custom, depending on the artificial light sources present.
Mastering Your Visual Assets
Understanding and manipulating camera settings is not merely a technical exercise; it is a strategic investment in the quality of your visual assets. By taking control of aperture, shutter speed, ISO, white balance, and exposure compensation, businesses can consistently produce high-quality images that resonate with their audience, accurately represent their offerings, and strengthen their brand identity. This deliberate approach to photography ensures that every visual element supports marketing objectives, from compelling social media posts to detailed e-commerce listings, ultimately driving engagement and conversions.
Frequently Asked Questions
What is the "exposure triangle" in photography?
The exposure triangle refers to the three fundamental camera settings—aperture, shutter speed, and ISO—that control the brightness of an image. Adjusting one setting often requires adjusting another to maintain proper exposure, creating a delicate balance.
How do I choose the best shooting mode for commercial work?
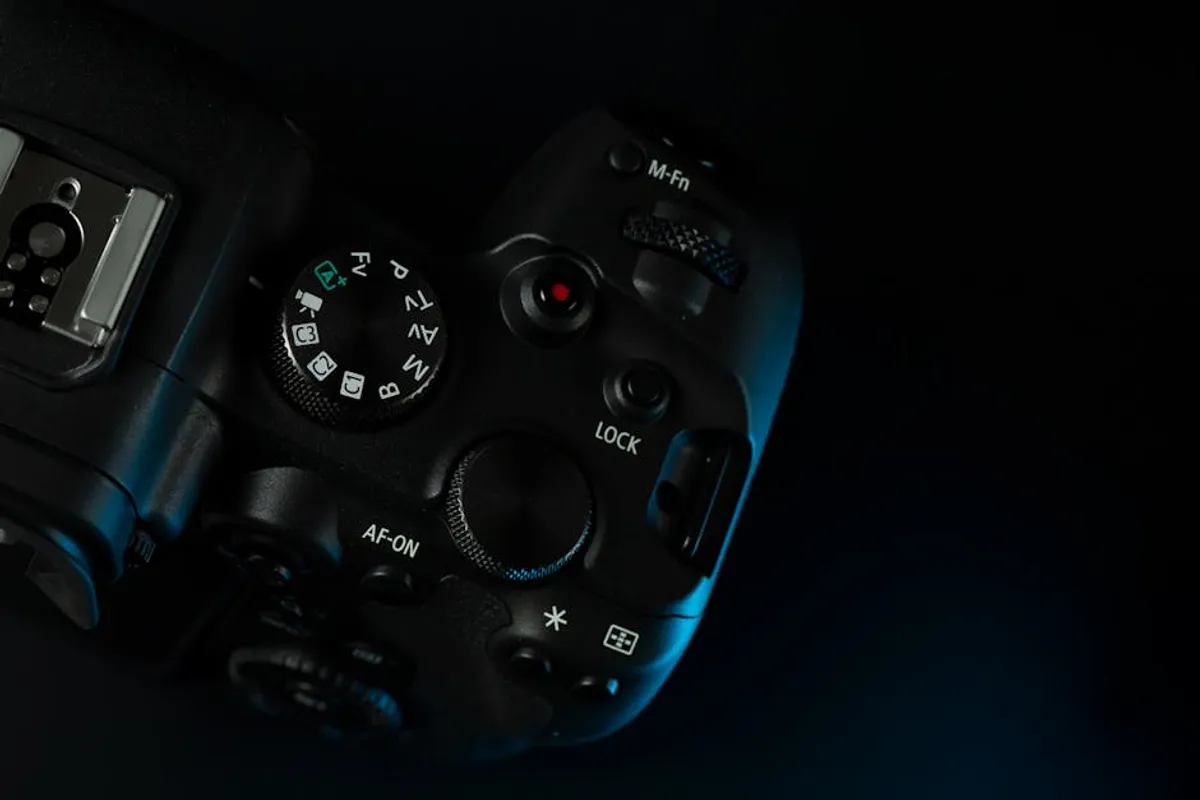
For maximum control and consistency, Manual (M) mode is often preferred for studio product photography. Aperture Priority (Av/A) mode is excellent for controlling depth of field in portraits or lifestyle shots, while Shutter Priority (Tv/S) is useful for freezing or blurring motion in dynamic scenes. Program (P) mode offers more automation but less precise control.
When should I use a high ISO setting?
A high ISO is necessary when shooting in low-light conditions where you cannot use a flash, a wider aperture, or a slower shutter speed (e.g., handheld in a dimly lit event). While it introduces noise, modern cameras handle higher ISOs more effectively, making them a practical choice when light is scarce.
Why are my product photos inconsistent in color?
Inconsistent color in product photos is most often due to incorrect white balance settings. Different light sources (daylight, fluorescent, LED) emit different color temperatures. Using a custom white balance by photographing a gray card under your specific lighting conditions ensures accurate and consistent color reproduction across all your images.