
Beginning portrait photography can feel overwhelming, with countless guides focusing on expensive gear or complex studio setups. However, the most impactful improvements stem from understanding fundamental principles rather than acquiring the latest equipment. This guide distills essential techniques, focusing on light, composition, posing, and camera settings, to equip new photographers with actionable insights for capturing compelling portraits from their very first shot. The goal is to build a solid foundation, allowing for consistent, high-quality results that transcend basic snapshots.
Mastering Light: The Core of Compelling Portraits
Light is the single most critical element in portrait photography. Understanding how it interacts with your subject's face and body dictates mood, dimension, and overall image quality. Beginners should prioritize learning to identify and manipulate existing light sources before investing in artificial lighting.
Utilizing Natural Light Effectively
Natural light offers a soft, flattering quality when used correctly. The key is to avoid harsh, direct sunlight, which creates strong contrasts and unflattering shadows, especially around noon. Instead, seek out diffused light sources.
- Window Light: Position your subject facing a large window for soft, directional light that sculpts features gently. This creates a gradual fall-off of light, adding depth.
- Open Shade: Photographing in the shade on a bright day provides even, soft illumination. Ensure there isn't a bright background directly behind your subject, which can lead to exposure issues or distracting hotspots.
- Golden Hour: The hour after sunrise and before sunset delivers warm, soft, and directional light. This low-angle light is highly flattering, adding a natural glow to skin tones.
Avoid: Direct overhead sunlight between 10 AM and 3 PM, which creates deep shadows under the eyes and nose, flattening the face. Instead, move your subject into open shade or use a reflector to bounce light into shadowed areas.
Basic Artificial Lighting Principles
While natural light is excellent, artificial light provides control and consistency. For beginners, a single off-camera flash or LED panel can dramatically elevate portraits.
Key Principle: Soften the Light. Small, direct light sources create harsh shadows. Use modifiers like softboxes, umbrellas, or even bouncing the flash off a wall or ceiling to enlarge the light source, resulting in softer, more flattering light.
Compositional Techniques for Engaging Portraits
Composition guides the viewer's eye and adds visual interest. Moving beyond simply centering your subject transforms a snapshot into a deliberate portrait.
Applying the Rule of Thirds
Imagine your frame divided into nine equal sections by two horizontal and two vertical lines. Place your subject or key elements (like their eyes) along these lines or at their intersections. This creates a more dynamic and balanced image than central placement, which can often feel static. For headshots, placing the eyes on the upper horizontal line is a common, effective technique.
Framing and Leading Lines
Use natural elements within the scene to frame your subject. Doorways, windows, tree branches, or even a subject's hands can draw attention inward. Leading lines, such as fences, paths, or architectural elements, can guide the viewer's eye directly to your subject, adding depth and narrative to the portrait.
Leveraging Negative Space
Negative space refers to the empty areas surrounding your subject. Rather than filling the frame, strategically using negative space can emphasize your subject, simplify the composition, and evoke a sense of calm or isolation. Ensure the negative space doesn't distract from the subject but rather enhances their presence.
Posing and Directing Your Subject with Confidence
Many beginners find posing intimidating. The goal is to make your subject comfortable and guide them into natural, flattering positions. Authenticity often trumps rigid poses.
Building Rapport and Communication
Before you even pick up the camera, engage your subject in conversation. Ask about their interests, make them laugh, and explain what you're trying to achieve. A relaxed subject translates into natural expressions. Provide clear, simple instructions, and demonstrate poses if needed.
Subtle Adjustments for Impact
Small changes make a big difference. Encourage your subject to shift their weight, turn their shoulders slightly, or adjust their gaze. For a flattering look, often ask subjects to "lean into the camera" or "push their chin forward" slightly to define the jawline. Pay attention to hands; relaxed, slightly bent fingers are more elegant than stiff, flat palms.
Pro Tip: To avoid stiff poses, encourage movement. Ask your subject to walk, turn, or interact with a prop. Capture moments between poses, as these often yield the most genuine and compelling expressions.
Essential Camera Settings for Portraits
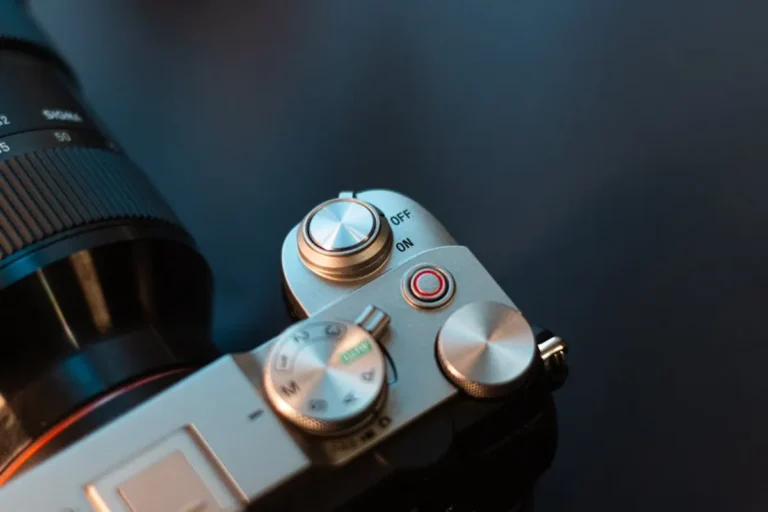
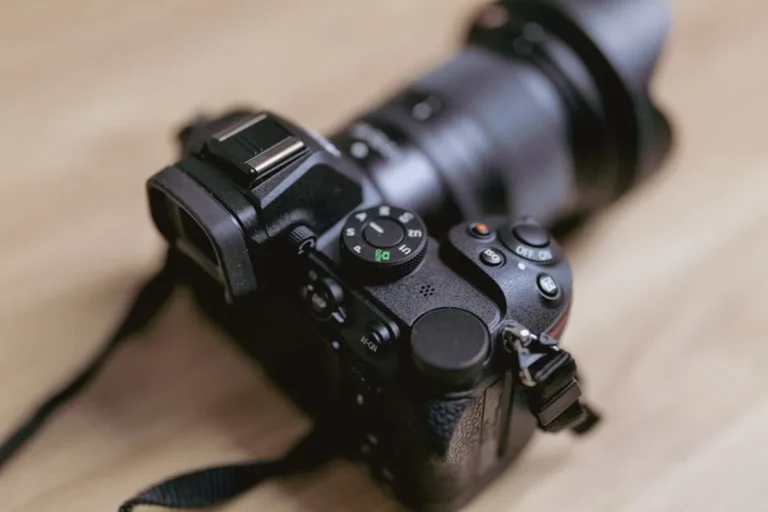
Understanding fundamental camera settings allows for creative control, moving beyond automatic modes.
Aperture Priority (Av/A Mode) for Depth of Field
Set your camera to Aperture Priority mode. This allows you to control the aperture (f-stop), which directly influences depth of field. For portraits, a wide aperture (e.g., f/1.8, f/2.8, f/4) creates a shallow depth of field, blurring the background (bokeh) and making your subject stand out. The camera automatically selects the appropriate shutter speed for correct exposure.
Shutter Speed for Sharpness
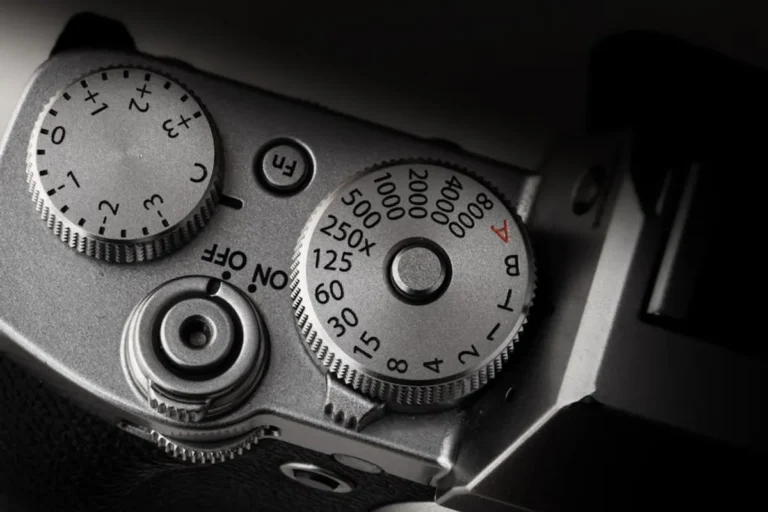
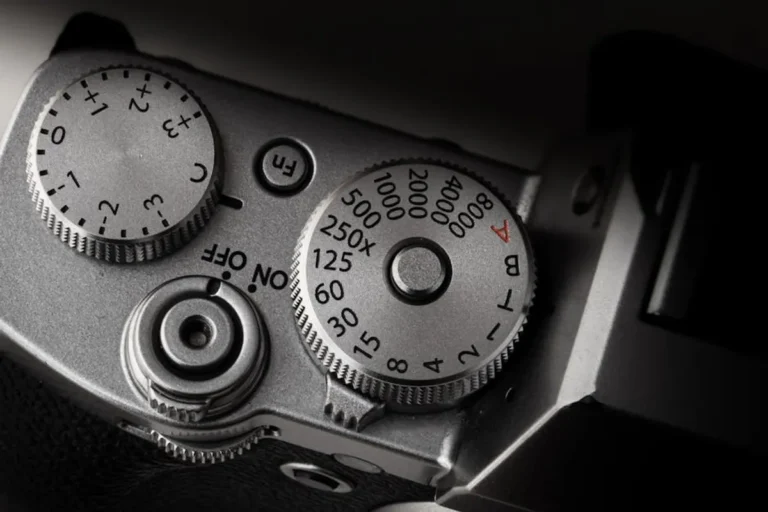
While in Aperture Priority, monitor your shutter speed. For handheld portraits, a general rule is to keep the shutter speed at least 1/focal length (e.g., 1/50th of a second for a 50mm lens) to prevent motion blur from camera shake. When photographing moving subjects, increase the shutter speed further (e.g., 1/250th or faster) to freeze action.
ISO for Managing Noise
ISO controls your camera's sensitivity to light. Keep it as low as possible (e.g., ISO 100 or 200) for the cleanest images with minimal digital noise. Only increase ISO when necessary to achieve a proper exposure in low light, balancing noise with sufficient brightness.
Accurate Focusing on the Eyes
In portraits, the eyes are paramount. Use a single-point autofocus mode and place the focus point directly over the subject's nearest eye. This ensures the most critical part of the face is tack sharp, drawing the viewer in.
Post-Processing Basics for Polished Portraits
Post-processing is an integral part of modern photography, refining your images and correcting minor imperfections. Even basic adjustments can elevate a portrait.
Essential Adjustments: Exposure and White Balance
Begin with global adjustments. Correct overall exposure to ensure the image isn't too dark or too bright. Adjust white balance to accurately reflect skin tones and the scene's ambient light. A slightly warmer white balance often flatters portraits.
Subtle Retouching and Refinement
Focus on enhancing, not transforming. Use local adjustments to brighten eyes, reduce blemishes, or smooth skin subtly. Avoid over-retouching, which can make subjects appear artificial or plastic. The goal is to enhance natural beauty, not erase it.
Cropping and Straightening for Impact
Re-evaluate your composition during post-processing. Crop to remove distracting elements, improve framing, or emphasize your subject. Ensure horizons and vertical lines are straight to maintain a professional appearance.
Cultivating Your Portrait Photography Skills
Developing strong portrait photography skills is an ongoing journey that combines technical understanding with creative vision. Consistent practice, critical self-evaluation, and a willingness to experiment are crucial for growth. Focus on mastering one concept at a time, whether it's understanding light patterns, refining your posing cues, or experimenting with different compositional rules. Review your work regularly, identifying what succeeded and what could be improved. Seek feedback from peers, and most importantly, continue to find joy in capturing the unique essence of each individual you photograph.
Frequently Asked Questions About Portrait Photography
What is the most important element for a good portrait?
While many elements contribute, good lighting is arguably the most critical. It shapes the subject, creates mood, and can make or break the overall quality of the image, regardless of gear or pose.
Should I use a prime lens or a zoom lens for portraits?
For beginners, a prime lens (like a 50mm f/1.8) is often recommended. They typically offer wider apertures for better background blur, are sharper, and encourage you to "zoom with your feet," improving your compositional skills. Zoom lenses offer versatility but may not achieve the same shallow depth of field at similar price points.
How do I make my subjects comfortable during a photoshoot?
Start with friendly conversation to build rapport. Explain your process, give clear and simple directions, and offer positive reinforcement. Playing music, providing breaks, and demonstrating poses yourself can also help ease tension and encourage natural expressions.
What's the ideal background for a portrait?
The ideal background is one that is simple, uncluttered, and doesn't distract from your subject. Look for solid colors, out-of-focus elements (bokeh), or natural textures that complement your subject without competing for attention. Avoid busy patterns, bright colors, or strong lines that pull the eye away.