
Entering the world of portrait photography involves understanding foundational principles that transcend camera models or lens prices. The goal is to capture a subject’s essence, convey emotion, or tell a story, which relies less on advanced gear and more on mastering core techniques. This guide outlines essential concepts for beginners, focusing on practical application to elevate your results from the outset.
Understanding Light Sources
Light is the single most critical element in portrait photography. Its direction, quality, and intensity directly shape the subject's appearance, influencing mood, dimension, and detail. Beginners should prioritize learning to identify and manipulate available light.
- Natural Light: This includes sunlight, window light, and reflected light. Soft, diffused natural light, often found during the 'golden hour' (shortly after sunrise or before sunset) or on overcast days, is generally most flattering. Avoid harsh midday sun, which creates strong shadows and high contrast, often unflattering for portraits. Position your subject to utilize window light from the side for natural sculpting, or from the front for even illumination.
- Artificial Light: While more complex, understanding artificial light begins with recognizing its basic properties. A single softbox or umbrella can mimic soft window light, providing controllable direction and intensity. For beginners, a simple continuous light source or even a desk lamp with diffusion can serve as a starting point to practice lighting patterns.
Manipulating Light Direction
The angle of light relative to your subject dictates how shadows and highlights fall, defining facial features and adding depth. Frontal lighting flattens features, while side lighting emphasizes contours and texture. Backlighting creates a rim light effect, separating the subject from the background, but requires careful exposure to prevent underexposure of the face.
Pro Tip: Always observe how light falls on your subject before raising your camera. Move your subject, or yourself, to find the most advantageous light. A slight shift in position can dramatically improve the final image.
Composition Fundamentals
Composition refers to the arrangement of elements within your frame. Effective composition guides the viewer's eye and enhances the narrative of the portrait.
- Rule of Thirds: Imagine dividing your frame into nine equal sections with two horizontal and two vertical lines. Placing your subject or key elements along these lines or at their intersections creates more dynamic and visually appealing compositions than simply centering everything.
- Leading Lines: Utilize natural or artificial lines in the environment (e.g., fences, roads, architectural features) to draw the viewer's eye towards your subject.
- Framing: Use elements within the scene (e.g., doorways, tree branches, windows) to create a natural frame around your subject. This adds depth and focuses attention.
- Negative Space: The empty space around your subject is as important as the subject itself. Judicious use of negative space can simplify the image, emphasize the subject, and create a sense of calm or isolation.
Posing and Expression
Directing your subject is crucial for capturing engaging portraits. Many beginners focus solely on camera settings, overlooking the human element.
- Communication is Key: Talk to your subject. Explain what you're trying to achieve and provide clear, simple directions. Make them feel comfortable and relaxed.
- Subtle Adjustments: Small changes in head tilt, shoulder position, or hand placement can significantly alter the portrait's impact. Encourage natural, relaxed poses rather than stiff, overly formal ones.
- Capturing Emotion: Engage your subject in conversation, ask them to recall a memory, or prompt genuine reactions. Authentic expressions are often more compelling than forced smiles.
Essential Camera Settings for Portraits
Understanding the exposure triangle (aperture, shutter speed, ISO) is fundamental. For portraits, specific settings are often prioritized to achieve desired effects.
- Aperture (f-stop): This controls the depth of field (how much of the image is in focus). For portraits, a wide aperture (smaller f-number like f/1.8, f/2.8, f/4) is commonly used to create a shallow depth of field, blurring the background (bokeh) and making the subject stand out.
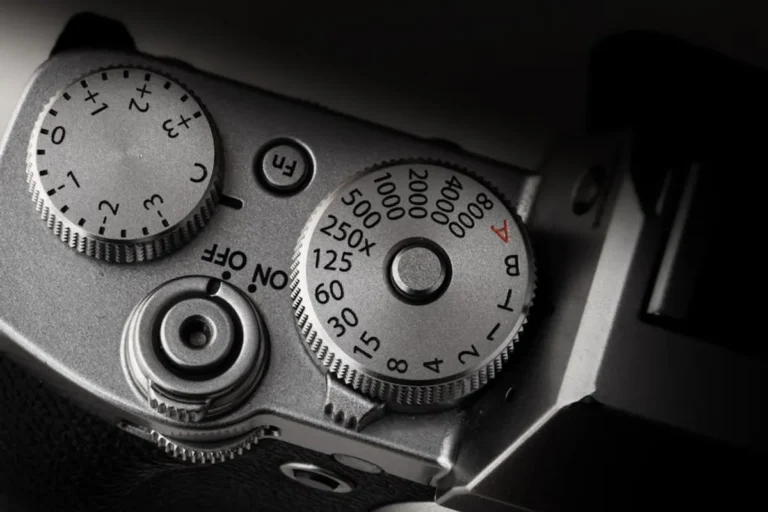
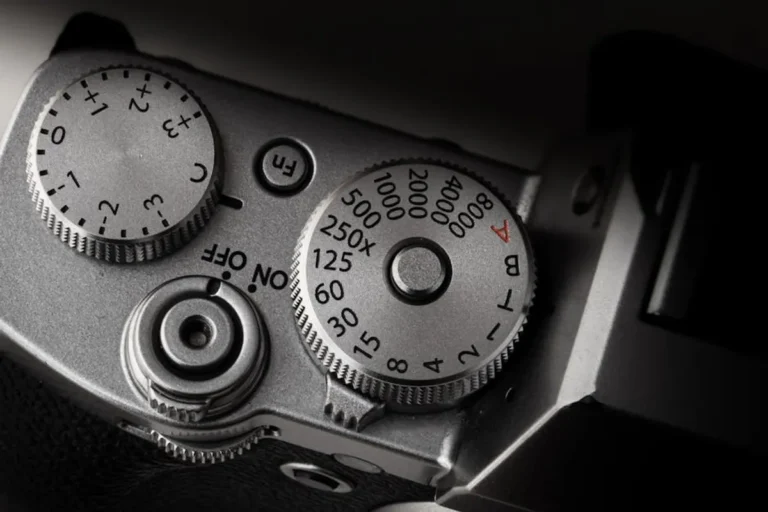
- Shutter Speed: Controls how long the camera's sensor is exposed to light. For static portraits, a shutter speed of 1/125th of a second or faster is usually sufficient to prevent motion blur, especially when shooting handheld. For moving subjects, faster speeds are necessary.
- ISO: Determines the sensor's sensitivity to light. Keep ISO as low as possible (e.g., ISO 100 or 200) to minimize digital noise, especially in well-lit conditions. Increase ISO only when necessary to achieve proper exposure in darker environments, balancing noise against light.
Lens Selection Considerations
While any lens can take a portrait, certain focal lengths are favored for their optical properties:
- 50mm (Full-Frame Equivalent): Often called a "nifty fifty," this prime lens provides a natural perspective similar to human vision and typically offers wide apertures, making it excellent for background blur in various situations.
- 85mm (Full-Frame Equivalent): A classic portrait lens, the 85mm compresses perspective slightly, resulting in flattering facial features and superb background separation. It requires more working distance from the subject.
- 70-200mm (Full-Frame Equivalent): A versatile zoom lens that allows for varying compression and working distances, useful for both tight headshots and environmental portraits.
Basic Post-Processing Workflow
Post-processing is an integral part of modern photography, allowing for refinements that enhance the original capture. Even beginners benefit from basic adjustments.
- Cropping and Straightening: Refine composition and correct any tilted horizons.
- Exposure Adjustment: Brighten or darken the overall image to achieve optimal exposure.
- White Balance: Correct color casts to ensure accurate and natural-looking skin tones.
- Contrast and Clarity: Enhance the visual punch of the image, adding depth without over-sharpening.
- Basic Retouching: Address minor blemishes or distractions, but avoid overdoing it, which can make the portrait look unnatural.
Starting Your Portrait Photography Journey
Beginner portrait photography is an iterative process of learning, practicing, and refining. Focus on understanding the fundamentals of light, composition, and subject interaction before investing heavily in equipment. Consistent practice with these core concepts will yield noticeable improvements in your work, building a strong foundation for more advanced techniques. Experiment with different settings and environments, and critically review your own images to identify areas for growth.
Frequently Asked Questions
What is the best lens for beginner portrait photography?
A 50mm prime lens (f/1.8 or f/1.4) is often recommended for beginners due to its affordability, wide aperture for background blur, and natural perspective. It encourages learning composition and working with available light.
How do I get a blurry background in my portraits?
To achieve a blurry background (bokeh), use a wide aperture (small f-number like f/1.8 or f/2.8), position your subject further away from the background, and use a longer focal length lens (e.g., 85mm or 100mm). The closer you are to your subject, the more pronounced the blur will be.
What camera settings should I start with for outdoor portraits?
Begin with your camera in Aperture Priority mode (Av or A). Set your aperture wide (e.g., f/2.8 or f/4) to blur the background. Keep your ISO as low as possible (e.g., 100-400) for clean images. The camera will automatically select a suitable shutter speed, but ensure it's fast enough (1/125th or faster) to prevent blur.
Should I shoot in JPEG or RAW for portraits?
Shooting in RAW format provides significantly more data, offering greater flexibility and control during post-processing for adjustments like exposure, white balance, and color correction. While RAW files are larger, the benefits for portrait quality often outweigh the storage considerations, especially for beginners learning to refine their images.