
Effective photography is not merely an aesthetic choice; it is a direct driver of commercial success, influencing everything from conversion rates on product pages to audience perception of brand professionalism. In an increasingly visual online landscape, the quality of your imagery dictates engagement, communicates value, and builds trust. Understanding the core principles of commercial photography and applying them consistently differentiates a brand, capturing attention in crowded digital spaces. This guide outlines the foundational techniques and considerations necessary to produce high-impact visuals that resonate with your target audience and support your business objectives.
Foundational Principles for Commercial Photography
Understanding Your Audience and Brand Message
Successful commercial photography begins with a clear understanding of who you are speaking to and what message you intend to convey. Every image should align with your brand's established identity—its tone, values, and aesthetic. For example, a luxury brand will require polished, high-contrast imagery with sophisticated styling, while an eco-friendly brand might opt for natural light, organic textures, and authentic, unposed shots. This alignment ensures visual consistency across all platforms, reinforcing brand recognition and connecting emotionally with the intended demographic. Visual storytelling, where images convey a narrative about the product or service, moves beyond mere depiction to create a deeper, more memorable impression.
Mastering Lighting Techniques
Lighting is the single most critical element in photography, shaping mood, revealing texture, and defining form. For commercial applications, control over light is paramount. Natural light, when diffused and managed correctly (e.g., near a large window, on an overcast day), offers a soft, even illumination ideal for lifestyle and portraiture, lending an authentic feel. Artificial lighting, such as strobes or continuous LED panels, provides precise control over intensity, direction, and color temperature, essential for product photography where consistency and detail are critical. Understanding the difference between hard light (creating sharp shadows and high contrast) and soft light (producing gentle transitions and minimal shadows) allows you to sculpt your subject and achieve specific visual effects that enhance commercial appeal.
Composition Rules for Impact
Composition refers to the arrangement of visual elements within the frame. Strong composition guides the viewer's eye, emphasizes the subject, and creates visual harmony. Key principles include the Rule of Thirds, which involves placing subjects along intersecting lines or at their junctions for a balanced, dynamic image. Leading lines (roads, fences, architectural elements) draw the eye towards the main subject. Negative space, the area around and between objects, can simplify a scene and make the subject stand out. Depth of field, controlled by aperture, allows you to isolate a subject against a blurred background (shallow depth of field) or keep everything in focus (deep depth of field), depending on whether you want to emphasize a single product or showcase an entire scene.
Essential Gear and Setup Considerations
Camera Bodies and Lenses
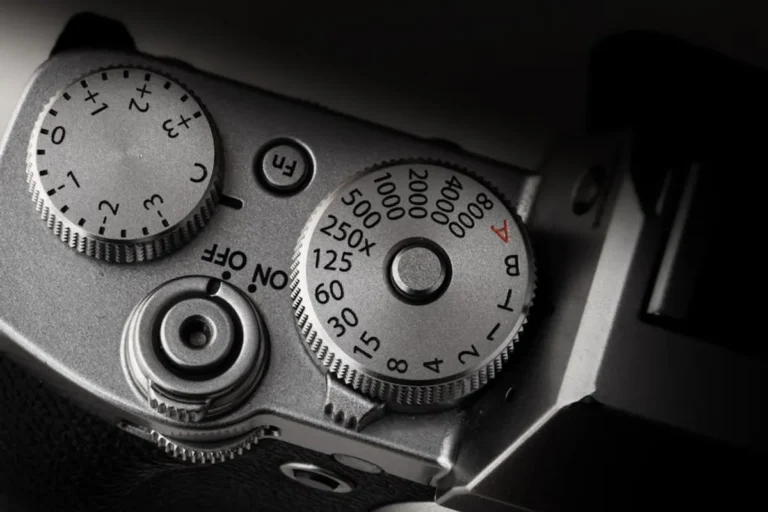
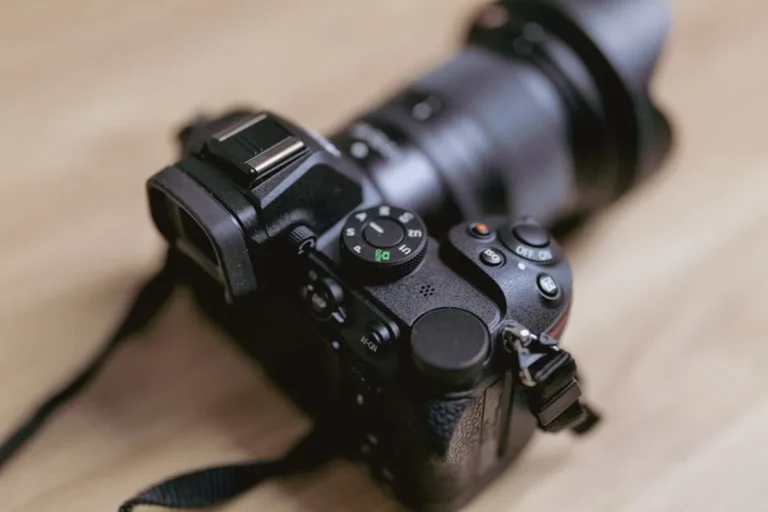
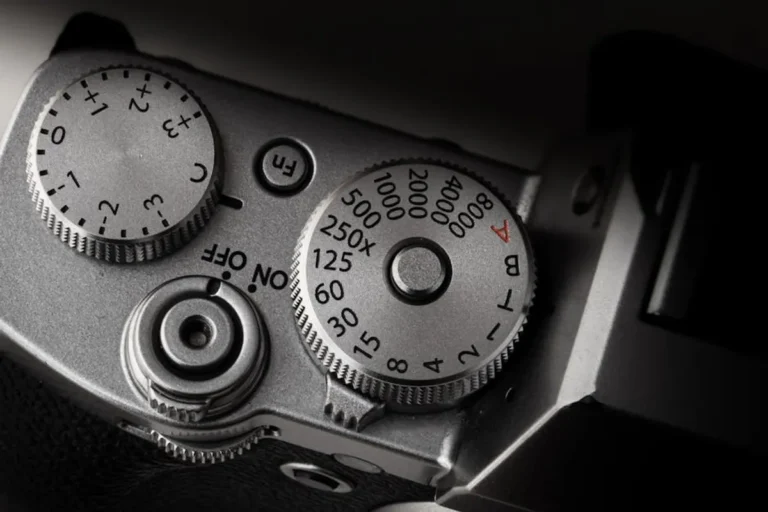
While modern smartphones offer impressive capabilities, dedicated camera bodies—DSLRs or mirrorless systems—provide superior control over image quality, dynamic range, and lens options. Full-frame sensors generally offer better low-light performance and shallower depth of field compared to crop sensors. Lens selection is equally crucial: prime lenses (fixed focal length, e.g., 50mm, 85mm) typically offer superior sharpness and wider apertures for low light and background blur. Zoom lenses (e.g., 24-70mm, 70-200mm) provide versatility for various shots without changing lenses, useful in dynamic environments like event or lifestyle photography. The choice depends on the specific commercial application, balancing sharpness, speed, and focal range requirements.
Lighting Equipment
Beyond natural light, a basic lighting kit significantly enhances commercial photography. Reflectors (silver, gold, white) bounce light back onto the subject, filling shadows. Diffusers soften harsh light sources. Softboxes and umbrellas attach to artificial lights (strobes or continuous LEDs) to create large, soft, even light sources, ideal for product and portrait work. Continuous LED lights are excellent for video and offer real-time preview of lighting effects, while strobes (flash units) provide powerful bursts of light, freezing motion and allowing for lower ISO settings and sharper images.
Tripods and Stabilizers
A sturdy tripod is indispensable for commercial photography, ensuring sharpness, consistency across multiple shots, and enabling long exposures in low-light conditions. It eliminates camera shake, critical for product photography where minute details must be crisp. For videography or dynamic action shots, gimbals and other stabilizers smooth out camera movements, producing professional-looking footage. Investing in a reliable tripod pays dividends in image quality and workflow efficiency.
Post-Production Workflow for Professional Results
Image Selection and Culling
The post-production process begins with meticulous image selection. Review all shots critically, discarding technically flawed images (out of focus, poor exposure) and selecting only the strongest compositions that align with your brand message. Look for consistency in lighting, color, and subject presentation, especially when shooting product lines. This culling process streamlines subsequent editing steps and ensures only high-quality assets proceed.
Basic Editing Principles
Image editing software allows for precise adjustments that elevate raw captures into polished commercial assets. Fundamental edits include correcting exposure (brightness), adjusting white balance (color accuracy), enhancing contrast, and fine-tuning color saturation. These adjustments ensure images appear natural, vibrant, and consistent across your entire visual catalog. Non-destructive editing workflows are crucial, preserving the original image data while applying changes.
Retouching and Optimization for Web
Retouching involves removing distractions, cleaning up imperfections (dust, minor blemishes), and sharpening details to make products or subjects look their best. This should be done judiciously to maintain authenticity. For web use, images must be optimized for fast loading without significant quality loss. This involves resizing images to appropriate display dimensions, compressing files (e.g., JPEG for photos, PNG for graphics with transparency), and applying appropriate file formats. Slow-loading images frustrate users and negatively impact search engine rankings.
Pro Tip: While high-resolution images are crucial for print, web optimization demands a balance. Aim for the lowest file size that maintains visual integrity, typically under 200KB for most web images, to prevent slow page loads that deter users and harm SEO. Use tools that allow for specific quality settings rather than aggressive auto-compression.
Specific Applications: Product, Lifestyle, and Portrait Photography
Product Photography
Product photography focuses on showcasing items clearly and attractively. This often involves clean, consistent backgrounds (white or neutral), even lighting to eliminate harsh shadows, and multiple angles to highlight features. Scale references (e.g., a hand, a common object) can help customers understand the product's size. High-quality product shots directly influence purchase decisions.
- Use a lightbox or sweep for seamless backgrounds.
- Ensure consistent lighting and white balance across all product variations.
- Capture multiple angles, including close-ups of details.
- Show scale and context where relevant.
- Maintain consistent styling for brand cohesion.
Lifestyle Photography
Lifestyle photography places products in a real-world context, showing them in use or evoking a desired feeling. This approach emphasizes authenticity and emotional connection over clinical detail. It requires careful staging, often with models, to create relatable scenarios that resonate with the target audience. The goal is to inspire and demonstrate how a product fits into a customer's life.
Portrait Photography
For team pages, personal branding, or "about us" sections, professional portrait photography builds trust and humanizes your brand. Focus on flattering angles, appropriate attire, and backgrounds that complement the subject without distracting. Expressing personality through genuine smiles and natural poses helps create a connection with viewers, making the brand more approachable and credible.
Implementing Your Photography Strategy
Developing a consistent photography strategy is an ongoing process. Regularly review your visual assets to ensure they remain current, align with evolving brand guidelines, and continue to resonate with your audience. Plan photo shoots around product launches, seasonal campaigns, and content marketing initiatives. Maintain a well-organized digital asset management system for easy access and consistent deployment across your website, social media, advertisements, and print materials. High-quality, consistent photography is an investment that yields measurable returns in brand perception and customer engagement.
Frequently Asked Questions
How important is image resolution for web images?
For web display, resolution (pixels per inch) is less critical than overall pixel dimensions. Most screens display at 72 PPI, so uploading images at 300 PPI offers no visual benefit but significantly increases file size. Focus on appropriate pixel dimensions (e.g., 1200-2000 pixels on the longest side for hero images) and efficient compression.
Should I use stock photos or custom photography?
Custom photography always offers a distinct advantage, providing unique visuals that perfectly align with your brand, products, and message. Stock photos, while convenient and cost-effective, can appear generic and may be used by competitors, diluting your brand identity. Use custom photography for core brand elements and product showcases, reserving stock for supplementary content or when budget constraints are severe.
What's the most common mistake in commercial photography?
One of the most common mistakes is inconsistent lighting and color balance across a series of images. This creates a disjointed and unprofessional appearance, especially on e-commerce sites or portfolios. Strive for uniformity in your lighting setup and post-production adjustments to maintain a cohesive visual brand.
How can I ensure my images load quickly on my website?
Beyond resizing and compression, implement lazy loading for images below the fold, use next-gen image formats like WebP, and leverage a Content Delivery Network (CDN) to serve images faster to users globally. Regularly audit your site's image performance using tools like Google PageSpeed Insights.