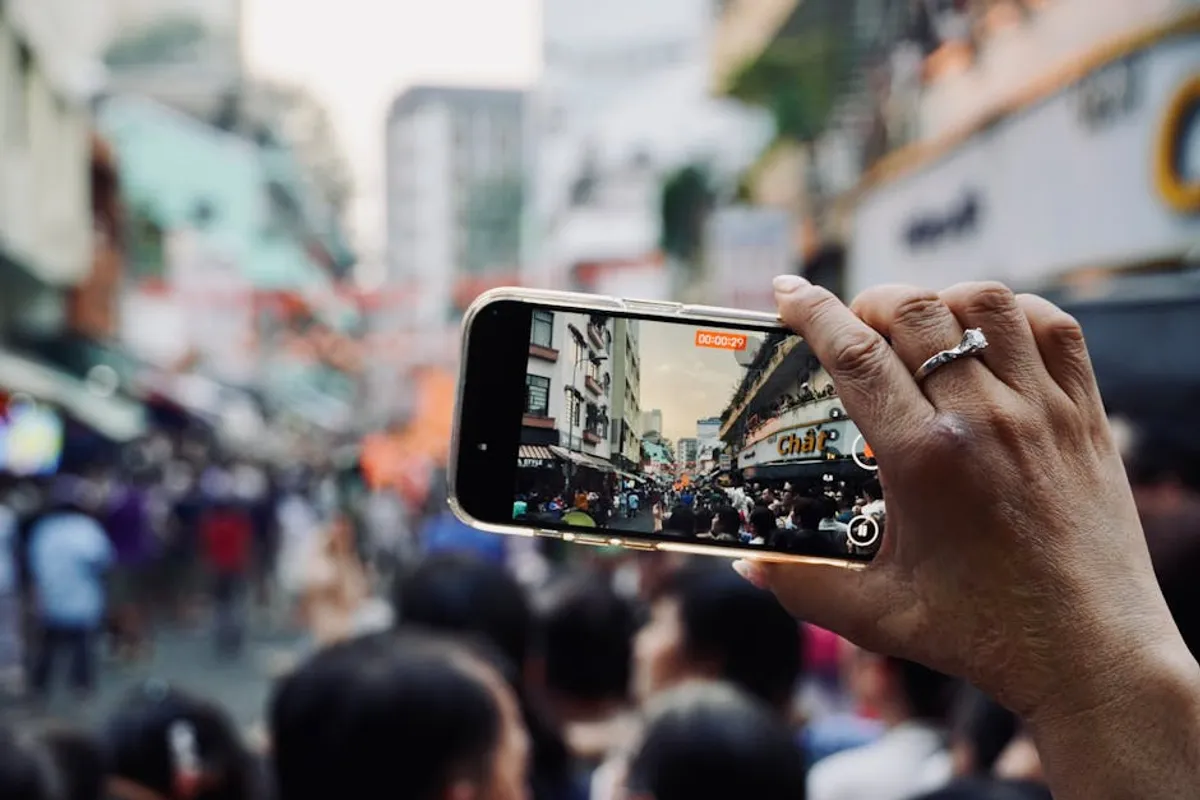
Street photography captures candid moments of public life, transforming everyday scenes into compelling visual narratives. This guide provides a foundational approach for beginners, focusing on essential techniques, ethical considerations, and practical steps to develop your unique vision without requiring advanced equipment or prior expertise.
Understanding the Core of Street Photography
At its heart, street photography is about observing and documenting human activity in public spaces. It requires patience, keen observation, and an understanding of light, composition, and timing. The goal is often to tell a story, evoke an emotion, or simply record a slice of life as it unfolds naturally.
Ethical Considerations and Approach
Approaching street photography responsibly is paramount. Respect for privacy and personal space builds trust and ensures a positive experience for both photographer and subject. While laws vary by region regarding photography in public, a general principle of discretion and non-confrontation is advisable. Avoid intrusive behavior; instead, aim to blend in and capture moments as they happen without drawing undue attention to yourself or your subjects.
Pro Tip: When photographing individuals, especially in close proximity, a quick, genuine smile or nod can often diffuse potential discomfort and acknowledge their presence without requiring verbal interaction. If someone explicitly asks you not to photograph them, always respect their request and delete the image if taken.
Essential Gear for Starting Out
You don't need expensive equipment to begin street photography. The most important tool is your eye and your willingness to engage with the environment. However, certain gear choices can enhance your experience and results.
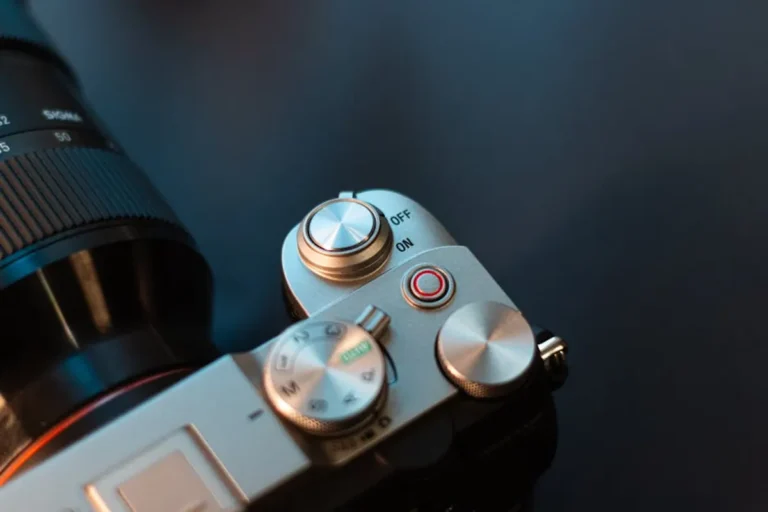
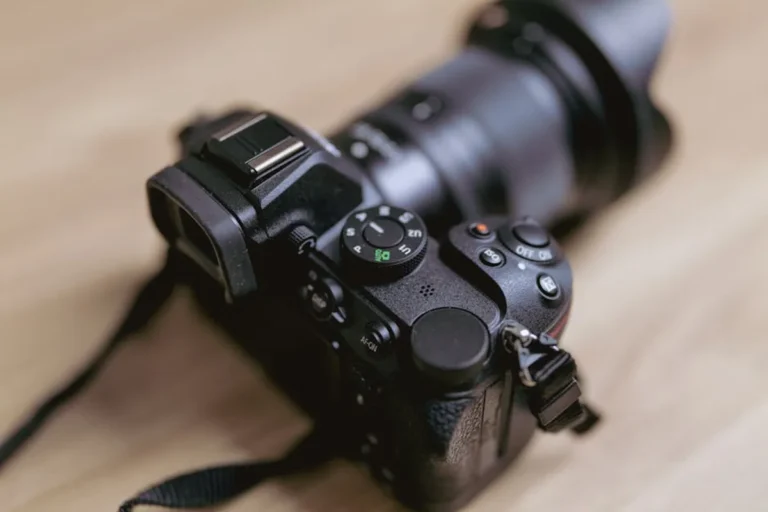
- Camera Body: A compact mirrorless camera or a small DSLR offers a good balance of image quality and portability. Many contemporary smartphones also produce excellent results for street photography, especially when starting. The key is a camera you're comfortable carrying for extended periods.
- Lenses:
- Prime Lenses (e.g., 35mm, 50mm): These lenses, known for their fixed focal length, are excellent for street photography due to their sharpness, wider aperture (better in low light and for subject isolation), and compact size. A 35mm equivalent on a full-frame sensor (or 23mm on APS-C, 17mm on Micro Four Thirds) provides a natural field of view, close to human vision.
- Compact Zoom Lenses (e.g., 24-70mm, 18-55mm kit lens): A versatile zoom can cover various situations without requiring lens changes. Look for lighter, smaller options to maintain discretion.
- Accessories:
- Extra Batteries: Street photography often involves long hours of shooting; spare batteries are crucial.
- Comfortable Camera Strap: A wide, padded strap reduces fatigue and keeps your camera accessible.
- Small Bag or Pouch: For spare batteries, memory cards, and personal items.
Mastering Technical Settings for Street Photography
Understanding basic camera settings allows you to react quickly to changing street scenes and achieve desired visual effects.
Aperture, Shutter Speed, and ISO
These three settings form the exposure triangle:
Aperture (f-stop): Controls the depth of field (how much of the scene is in focus) and the amount of light entering the lens.
Best for:
- f/8 to f/11: Provides a deep depth of field, keeping more of the scene sharp. Ideal for capturing environmental context or when pre-focusing (zone focusing).
- f/2.8 to f/5.6: Creates a shallower depth of field, isolating your subject from a busy background. Useful for portraits or emphasizing specific elements.
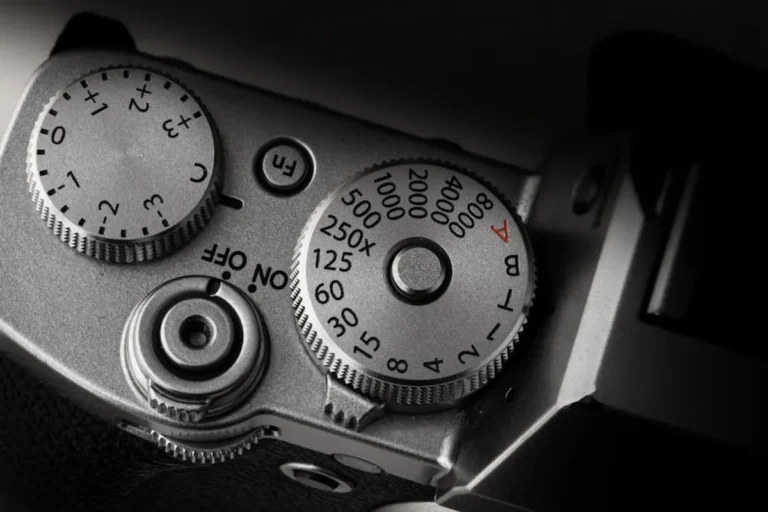
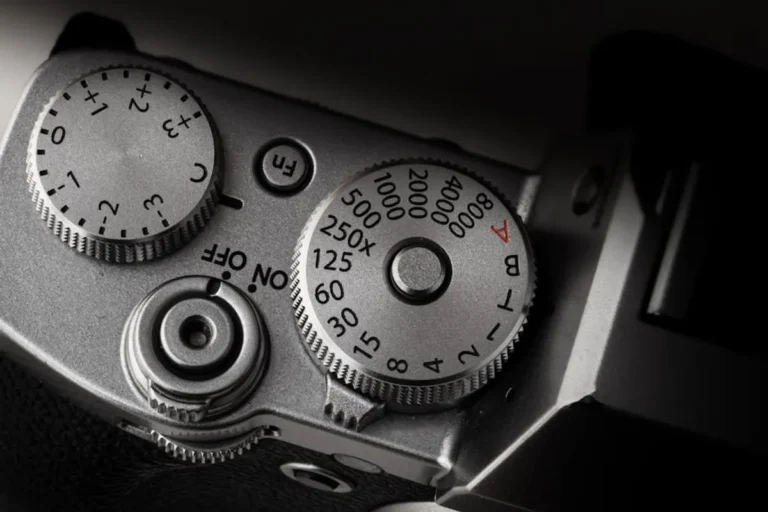
Shutter Speed: Determines how long the camera's sensor is exposed to light and controls motion blur.
Best for:
- 1/250s or faster: Freezes most human motion, ensuring sharp subjects. Essential for capturing decisive moments.
- 1/60s to 1/125s: Can introduce slight motion blur to moving elements while keeping stationary subjects sharp, conveying a sense of movement.
- Slower than 1/30s: Requires a steady hand or tripod (generally not practical for candid street work) to avoid camera shake, often used for intentional blur effects.
ISO: Adjusts the camera's sensitivity to light. Higher ISO values allow shooting in darker conditions but can introduce digital noise (grain).
Best for:
- ISO 100-400: Ideal for bright daylight, producing the cleanest images.
- ISO 800-1600: Suitable for overcast days or shaded areas.
- ISO 3200+: Necessary for low-light or night photography, but be prepared for increased noise. Modern cameras handle higher ISOs better than older models.
Focusing Techniques
Autofocus (AF): Most modern cameras have fast and accurate autofocus systems.
Best for:
- Single-point AF: Allows precise focusing on a specific subject, useful for isolating individuals in a crowd.
- Continuous AF (AI Servo/AF-C): Tracks moving subjects, beneficial for capturing dynamic action.
Zone Focusing: A manual focusing technique where you pre-set your lens to a specific distance and aperture (e.g., f/8 or f/11), ensuring everything within a certain range is in focus.
Best for: Rapid, candid shooting without needing to acquire focus for each shot. Requires practice to estimate distances accurately.
Compositional Elements in Street Photography
Strong composition transforms a simple snapshot into a compelling photograph. Look for these elements:
- Rule of Thirds: Placing subjects or key elements along the intersecting lines or points of an imaginary 3x3 grid within your frame creates visual balance and interest.
- Leading Lines: Use natural lines in the environment (roads, fences, architectural elements) to draw the viewer's eye towards your subject or a point of interest.
- Framing: Utilize elements like doorways, windows, or branches to create a natural frame around your subject, adding depth and context.
- Juxtaposition: Look for unexpected or contrasting elements placed side-by-side. This could be an old person next to a vibrant advertisement, or a lone figure in a bustling crowd.
- Light and Shadow: Dramatic light and shadow patterns can add mood, texture, and abstract qualities to your images. Pay attention to how light falls on subjects and surfaces.
Developing Your "Street Eye"
Street photography is as much about seeing as it is about shooting. Consistent practice and critical self-evaluation are key to improvement.
- Walk with Purpose: Don't just wander; actively look for interesting light, compelling subjects, and unique interactions. Anticipate moments.
- Shoot Often: The more you shoot, the better you become at identifying opportunities and reacting quickly. Don't be afraid to take many photos; digital photography makes this cost-free.
- Review Your Work: Critically examine your photographs. What worked? What didn't? What could you have done differently? Learning from your own images is crucial.
- Study Other Photographers: Look at the work of masters and contemporary street photographers. Analyze their composition, use of light, and storytelling. This inspires and informs your own practice.
Practical Application and Continuous Learning
Begin by exploring familiar areas with a fresh perspective. Start close to home, then venture into busier urban environments. Focus on capturing genuine human moments rather than staged interactions. Your goal is to be present, observant, and ready to press the shutter when the elements align. Experiment with different times of day to experience varied lighting conditions—harsh midday sun, soft golden hour light, or the dramatic contrast of night photography. Remember that every outing is an opportunity to refine your vision and technique.
Frequently Asked Questions
Is it legal to photograph strangers in public?
Generally, yes. In most public spaces, individuals do not have a reasonable expectation of privacy. However, laws vary by country and region. Always prioritize ethical conduct and respect, and avoid photographing children without parental consent or individuals in private moments even if visible from a public area.
What's the best time of day for street photography?
Every time of day offers unique opportunities. Early morning and late afternoon (golden hour) provide soft, warm light and long shadows. Midday sun creates strong contrasts and dramatic shadows. Overcast days offer diffused, even light, which is excellent for capturing details and colors without harsh shadows. Experiment with all conditions.
How do I overcome the fear of photographing strangers?
Start by photographing from a distance, focusing on scenes rather than individuals. Use a longer lens if it helps. As you gain confidence, gradually move closer. Remember that most people are engrossed in their own activities and won't notice or mind. A discrete approach and a confident, non-threatening demeanor are key.
Should I edit my street photos?
Post-processing is an integral part of photography. Basic adjustments like cropping, exposure correction, contrast, and color balance can significantly enhance your images. Many street photographers prefer black and white for its timeless quality and ability to emphasize form, texture, and emotion without color distractions.