Entering the field of event photography requires more than just owning a camera; it demands a strategic approach to equipment, client communication, and post-production. For beginners, understanding the commercial realities and technical demands from the outset is crucial for building a sustainable practice. This guide outlines the foundational steps and considerations necessary to transition from enthusiast to professional event photographer, focusing on practical application and client satisfaction.
Understanding Event Photography Fundamentals
Event photography encompasses a broad spectrum of occasions, each with unique requirements and opportunities. From corporate conferences and product launches to weddings and private parties, the core objective remains consistent: to document key moments, capture atmosphere, and deliver a visual narrative. Successful event photographers anticipate action, manage dynamic lighting, and interact effectively with subjects while remaining unobtrusive.
Common Event Types:
- Corporate Events: Conferences, trade shows, galas, award ceremonies. Focus on branding, key speakers, networking, and candid interactions.
- Social Events: Birthdays, anniversaries, family reunions. Emphasize emotional moments, group dynamics, and celebratory atmosphere.
- Weddings: A specialized niche requiring extensive planning, technical skill, and emotional intelligence. High stakes and detailed shot lists are common.
- Concerts/Performances: Demanding low-light conditions, fast-moving subjects, and often restricted access. Requires specific gear and technique.
- Product Launches/PR Events: Highlighting products, brand representatives, and media engagement. Often involves controlled lighting and specific brand guidelines.
Essential Gear for Starting Event Photography
While advanced equipment offers advantages, beginners can achieve professional results with a well-chosen, foundational kit. Prioritize versatility and reliability over sheer expense.
Camera Bodies
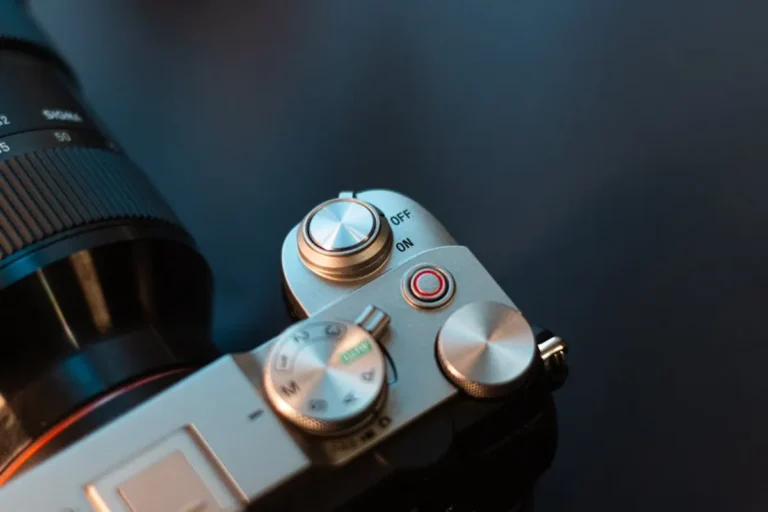
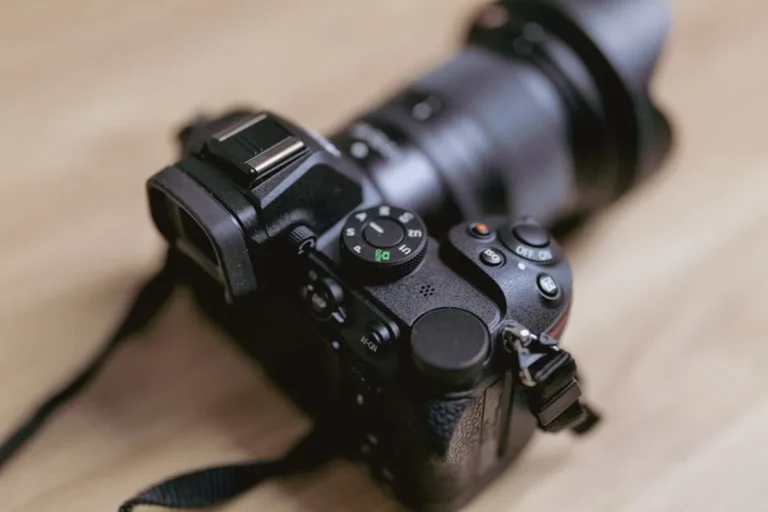
A modern interchangeable-lens camera (DSLR or mirrorless) with good low-light performance and fast autofocus is paramount. Look for models offering robust build quality and dual card slots for redundancy, which is critical for client work.
Recommendation: A crop-sensor (APS-C) mirrorless or DSLR body from any major manufacturer offers a strong balance of performance and cost for beginners. Full-frame bodies provide superior low-light capability but represent a higher initial investment.
Lenses
The right lenses are often more impactful than the camera body itself. Focus on versatile zooms and a fast prime lens.
- Standard Zoom (e.g., 24-70mm f/2.8 or 28-75mm f/2.8): This lens covers a wide range of focal lengths, suitable for wide venue shots, group photos, and tighter portraits. The constant f/2.8 aperture allows for good low-light performance and subject isolation.
- Telephoto Zoom (e.g., 70-200mm f/2.8 or 70-300mm f/4-5.6): Essential for capturing subjects from a distance, such as speakers on a stage or candid moments without intrusion. An f/2.8 version offers better low-light capability, but an f/4 or variable aperture can be a more budget-friendly starting point.
- Fast Prime (e.g., 50mm f/1.8 or 85mm f/1.8): A "nifty fifty" or similar fast prime lens is invaluable for extremely low-light conditions, creating shallow depth of field for portraits, and producing a distinct aesthetic.
Lighting and Accessories
On-camera flash is often necessary for events, especially indoors. A shoe-mount flash unit with swivel and tilt capabilities allows for bouncing light off ceilings or walls, creating softer, more natural illumination than direct flash.
Key Accessories:
- Extra Batteries: Events are long; multiple charged batteries are non-negotiable.
- High-Capacity Memory Cards: Fast write speeds and sufficient storage are crucial. Carry backups.
- Camera Bag: A comfortable, protective bag that allows quick access to gear.
- Cleaning Kit: Lens cloth, blower, and lens cleaner for maintaining optics.
- Light Stands and Modifiers (Optional but recommended): For setting up off-camera flash for formal shots or specific lighting needs.
Pro Tip: Always arrive at an event with fully charged batteries and empty, formatted memory cards. Double-check your camera settings before the first shot. A pre-event checklist mitigates common beginner errors and ensures you are prepared for unexpected situations.
Mastering Exposure and Lighting in Dynamic Environments
Event environments are rarely static, presenting varied and often challenging lighting. Understanding how to quickly adapt camera settings is fundamental.
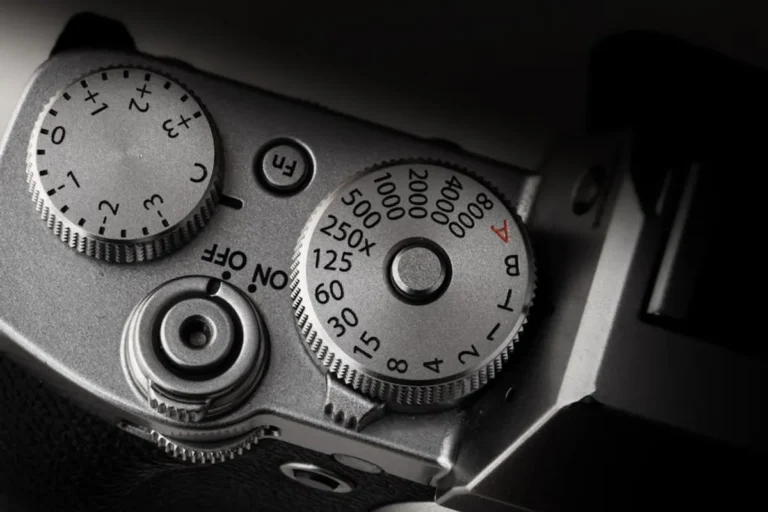
Prioritize Shutter Speed: For moving subjects, a shutter speed of 1/125s or faster is often necessary to freeze action. In low light, you may need to increase ISO.
Aperture Control: Use wider apertures (smaller f-numbers like f/2.8 or f/4) to gather more light and create subject separation.
ISO Management: Increase ISO to brighten images in low light, but monitor noise levels. Modern cameras handle higher ISOs better, but a balance must be struck.
Flash Usage: Learn to bounce your flash. Direct flash creates harsh shadows and an unnatural look. Bouncing light off a ceiling or wall diffuses it, resulting in softer, more flattering illumination. Consider using a diffuser or bounce card on your flash for situations where bouncing off a surface isn't possible.
Composition and Storytelling Through Images
Beyond technical proficiency, an event photographer tells a story. This involves anticipating moments, framing shots effectively, and capturing a range of perspectives.
- Candid Moments: Often the most cherished shots, these capture genuine emotions and interactions. Be observant and ready.
- Key Individuals: Identify important guests or speakers beforehand and ensure they are well-documented.
- Details: Capture decor, signage, food, and other elements that contribute to the event's atmosphere and branding.
- Wide Shots: Establish the venue and overall ambiance.
- Medium Shots: Focus on groups and interactions.
- Tight Shots: Emphasize expressions, details, and emotional connections.
Post-Production and Delivery
The work doesn't end when the event does. Post-production is where your raw files are transformed into polished deliverables.
Workflow Steps:
- Ingestion and Backup: Transfer all images to your computer and immediately create a backup (e.g., to an external hard drive or cloud storage).
- Culling: Review all images and select the best ones. Be ruthless in deleting duplicates, blurry shots, or unflattering frames.
- Editing: Adjust exposure, white balance, contrast, and color. Apply consistent stylistic edits across the entire set.
- Export: Export images in the required resolution and file format (e.g., high-resolution JPEGs for print, web-optimized JPEGs for online use).
- Delivery: Use a professional online gallery service for client delivery. This allows clients to view, download, and often share images easily.
Building Your Portfolio and Business
Even as a beginner, building a portfolio is essential for attracting clients. Offer to photograph small events for friends, family, or local non-profits at a reduced rate or for free initially to gain experience and build content for your portfolio. Clearly communicate what you will deliver.
Pricing Considerations: Research local market rates. Consider charging per hour, per event, or based on the number of final images. Always have a clear contract outlining services, deliverables, usage rights, and payment terms.
Getting Started in Event Photography
Beginning your journey in event photography requires dedication to both technical skill and client service. Focus on mastering your equipment, understanding lighting, and developing a keen eye for storytelling. Build a strong, diverse portfolio, and consistently seek opportunities to learn and refine your craft. Professionalism in communication, delivery, and post-production will establish your reputation and lead to future bookings.
Frequently Asked Questions
What camera settings should I use for indoor event photography?
Start with a wide aperture (f/2.8-f/4), a shutter speed fast enough to freeze action (1/125s or higher), and adjust ISO to achieve proper exposure. Use an external flash bounced off a ceiling or wall for softer light.
How many photos should I deliver for a typical event?
This varies significantly by event type and duration, but a general guideline for a 2-3 hour event might be 50-150 professionally edited images. Always discuss client expectations beforehand and outline the number of deliverables in your contract.
Do I need a second camera body as a beginner?
While not strictly necessary for your very first events, a second camera body becomes critical as you take on more professional work. It serves as a backup in case of equipment failure and allows you to quickly switch between lenses without changing them on a single body, saving time and reducing dust exposure.
Should I shoot in JPEG or RAW?
Always shoot in RAW format for event photography. RAW files retain significantly more image data, providing greater flexibility for adjustments in exposure, white balance, and color during post-production, which is invaluable in challenging event lighting conditions.